
Sublime Text with CoffeeScript is a JavaScript developer’s dream, but one that doesn’t evaporate in the fog of sleep shortly after waking. After learning about Sublime Text at Fluent Conf 2012 during a plenary talk from Paul Irish, I immediately began looking for ways to incorporate it into my workflow. And now, after having used it for over 8 months in my day-to-day work, I wanted to share a quick primer for those who want to amp up CoffeeScript coding with Sublime Text too.
But first thing’s first, go and download Sublime Text. The app is nagware until you purchase a license and register it, which I ended up doing after a couple of months of periodic and persistent annoyance (and, of course, once I realized how utterly awesome Sublime Text was). The licenses are per-user, and not per-machine, meaning that users can purchase the app once and enjoy it on multiple machines using the same license. It almost feels like pirating – only it’s not.
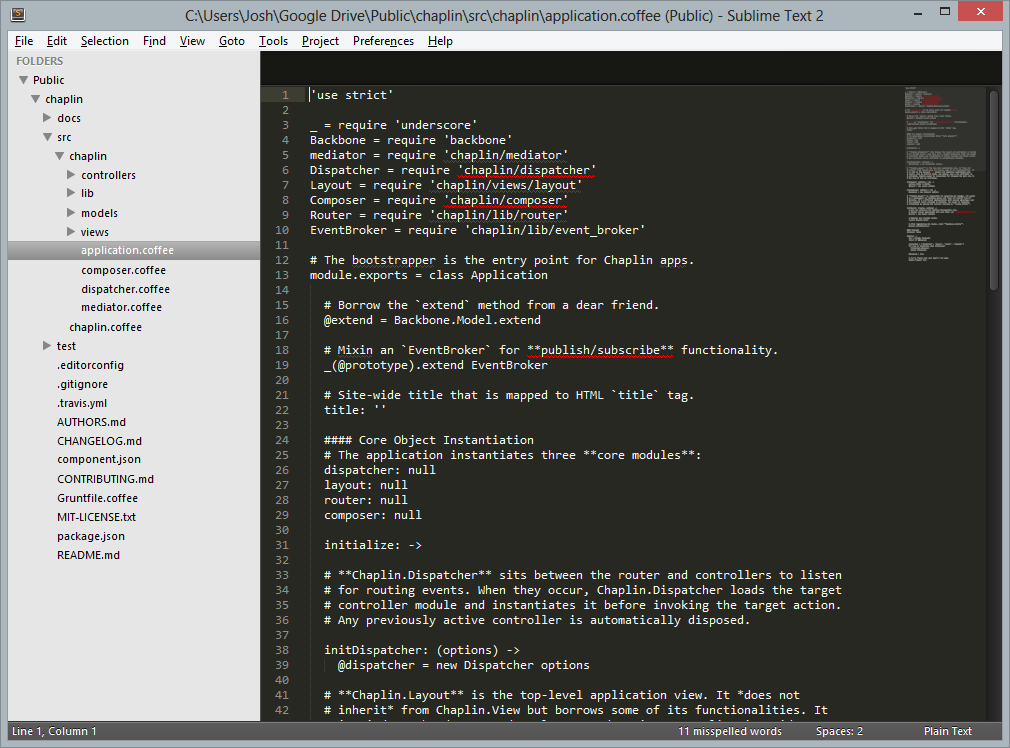
In the above image we have a CoffeeScript file open, but all the code visible in the editor appears in a chilling bone white. How is that going to amp up coding speed? Simple: it’s not. So next step is to install some syntax highlighters and, while at it, some other useful packages as well.
By default, Sublime Text does not come with support for CoffeeScript.
To install the CoffeeScript syntax highlighter and other packages in Sublime Text with ease, we’re gonna need a package manager. Fortunately, there’s already one available, appropriately named Sublime Package Control. Go ahead and install that now.
With the package manager installed, use it to install the
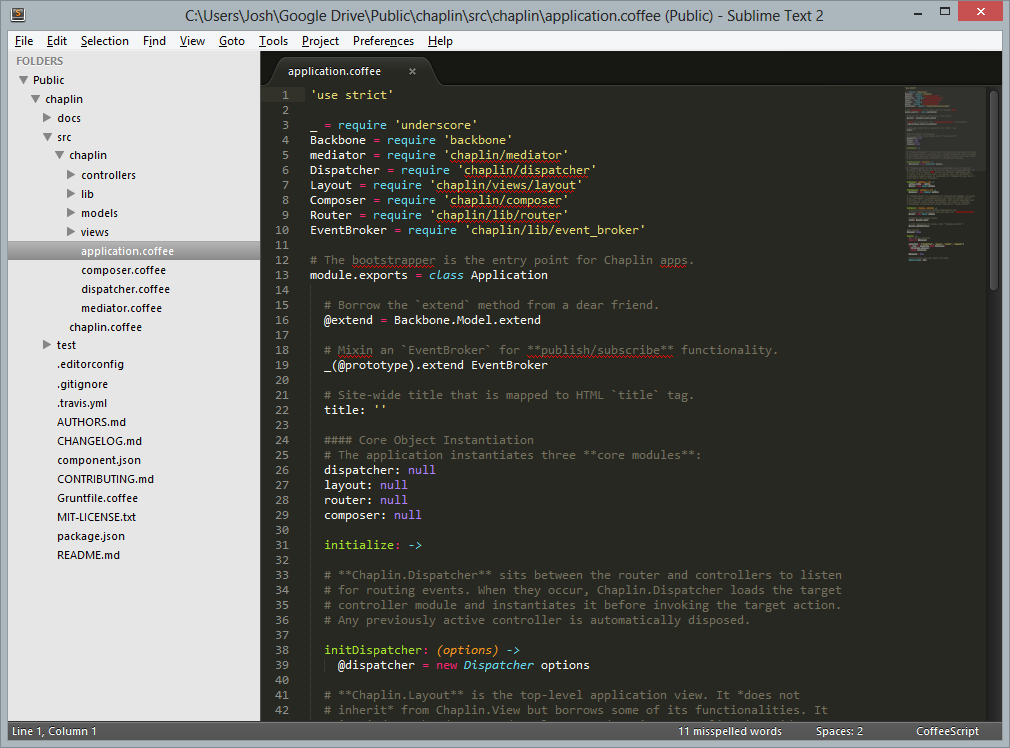
CoffeeScript package if using ST2 or
Sublime Better CoffeeScript for ST3. Once installed successfully, CoffeeScript files (those ending in the .coffee extension) opened after the package is installed will begin appearing with syntax highlighting, like magic.
Syntax highlighting isn’t the only thing the CoffeeScript package does. It also provides a number of convenience code snippets and other facilities to help make working with CoffeeScript easy peasy. But one thing the CoffeeScript add-on for Sublime Text doesn’t do is static code analysis such as linting. However, with Sublime Package Control, adding linting capabilities for CoffeeScript, as well as many other popular languages, is as easy as a few keystrokes and the installation of the SublimeLinter. And presto! Now all you have to worry about for the most part are logic errors and workflow snafus. Unfortunately, the only known method for coping with those that I’m aware of are experience, a curious mind and constant experimentation to find what works best for you.
In summary, this primer has shown how to use a combination of tools to amp up CoffeeScript coding with Sublime Text for a better, faster and easier coding experience. The article covered installation of Sublime Text and Sublime Package Control, as well as two packages to help streamline CoffeeScript coding. Now, when the JS developer wakes up, they’ll be dreaming up the next innovative web application rather than the tools needed to build it.
Related Sublime packages to try
- js2coffee can be used to convert existing JavaScript files
- CoffeeCompile allows you to compile some or all of your CoffeeScript
Other Sublime bundles worth checking out
- Git enables easy code management using the Git DCVS
- Stack Overflow allows quick knowledge base searches from within the editor
- Stylus, LESS and Sass provide CSS preprocessor support as needed
- Handlebars adds syntax highlighting and tab triggers for commonly used block helpers
- Tag helps facilitate writing HTML