
I earlier this month I spent way too much time trying to SFTP to Ubuntu Server with Sublime Text. The purpose of the SFTP effort was to set myself up for developing modern web applications on a new Windows 8 machine I bought to play SimCity 2013. And after getting everything working I realized the SFTP method had some gremlins and the file syncing reminded me of Dreamweaver—it simply wasn’t fast enough.
Lately, unless you were running a Linux machine or had the pleasure of owning a Mac with OS X, developing modern web applications has been a bit of a kludge. Enter Vagrant.
Vagrant is a tool for building complete development environments. With an easy-to-use workflow and focus on automation, Vagrant lowers development environment setup time, increases development/production parity, and makes the “works on my machine” excuse a relic of the past.
In this article I’ll explain how to set up a development environment in Windows using a virtualized Linux box, suitable for rapid prototyping. Then I’ll take it a step further and explain how to integrate a Backbone-based application framework with Vagrant and Sublime Text, greatly increasing the speed for developing modern web applications on Windows.
Applications used
The following core applications will be used to pull off this little stunt. The only one that costs money is Windows. Download and install all of these before moving forward:
- Windows. Where do you want to go today?
- Git for Windows. We’ll be using this for the Git Shell that comes with it.
- Vagrant. Described above in marketing jargon. It does stuff with virtual machines.
- VirtualBox. Open Source virtualization software.
- Sublime Text. Wicked quick code editor. Nagware.
- Google Chrome. Make this your default browser.
This article will touch on or use a number of ancillary programs. These are free as well. Do not try and download these now; they will be installed and used at specific points during the article.
- Ubuntu. Currently the most popular flavor of Linux out there.
- Bash. A Unix shell. Will be used inside the Git Shell, which actually uses the Windows PowerShell by default. Result? Shellception.
- Nginx. A web server and reverse proxy. It does email too.
- Node.js. A server-side JS engine. Will be used for compiling application sources.
- curl. Allows us to test the web server for an HTTP response, and more.
- Brunch. An easy-to-use HTML5 application assembler.
Once the specified applications are installed it’s time to start configuring the dev environment.
Configure the development environment
Once the core applications are installed, start configuring the development environment.
First, open Git Shell from Windows and, at the command prompt, follow the simple Vagrant Getting Started instructions. This will download a Linux image for the VM, install and start it.
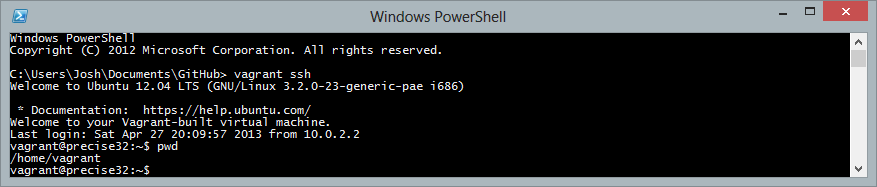
After the virtual machine starts, connect to it with Vagrant SSH. Once at the bash prompt, pictured below, type pwd then Enter to confirm the current directory is the vagrant home directory.
Then, from the prompt, run the following commands, in sequence, and accepting any intermediate prompts presented, to install Node.js, Nginx and curl, set-up Vagrant synced folders and start the web server.
sudo apt-get update
sudo apt-get install python-software-properties python g++ make
sudo add-apt-repository ppa:chris-lea/node.js
sudo apt-get update
sudo apt-get install nodejs
sudo apt-get install nginx
sudo apt-get install curl
sudo mv /usr/share/nginx/www /vagrant
sudo ln -fs /vagrant/www /usr/share/nginx/www
sudo /usr/sbin/nginx
Once complete, execute curl localhost at the bash prompt to verify the web server started and is sending an expected HTTP response, as shown below.
<html>
<head>
<title>Welcome to nginx!</title>
</head>
<body bgcolor="white" text="black">
<center><h1>Welcome to nginx!</h1></center>
</body>
</html>
If the response is successful,
network the VM with Windows (the host machine) by editing the Vagrantfile, uncommenting the following line and saving:
# config.vm.network :forwarded_port, guest: 80, host: 8080
Next, run vagrant reload from Git Shell.
Doing so will restart the VM with the updated config and begin forwarding traffic to it, from port 8080 on the host machine to port 80 on the VM.
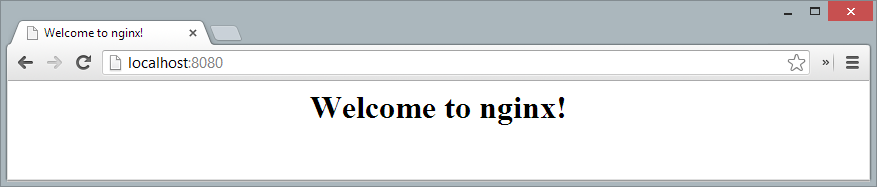
Try it out by opening a browser and navigating to localhost:8080. If the port forwarding is working properly, the page will contain a Nginx welcome message.
Pretty cool, huh? Just wait…
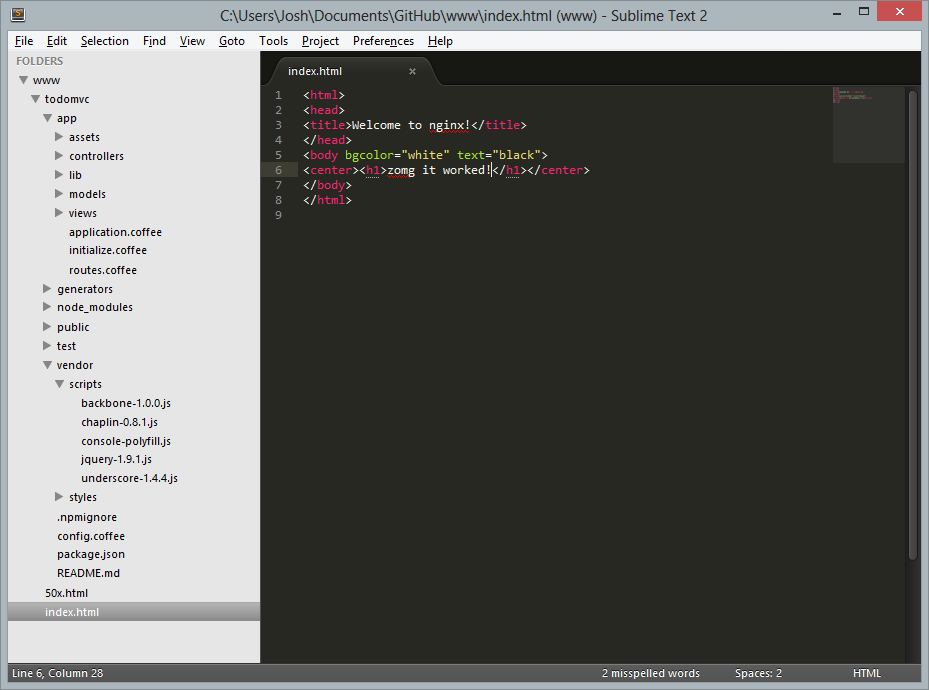
In case it went unnoticed, the Vagrantfile parent directory now contains a www folder. Drag that folder from Windows Explorer and drop it into an open Sublime Text window.
From Sublime, press Ctrl+P to open the Goto Anything feature, type ix and press Enter to open index.html. Look familiar? That’s because it’s the same output from the curl statement issued earlier in bash.
Make some changes and save the file, then reload the browser window and watch the changes automagically appear.
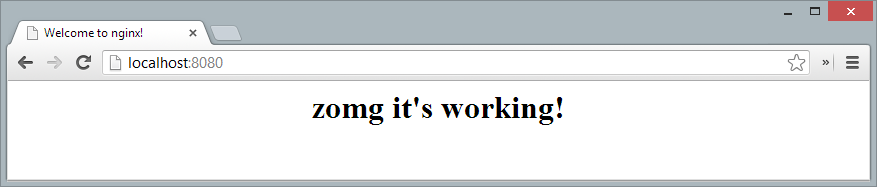
Now that is cool! Vagrant is not only port forwarding to the guest VM, it’s also syncing file systems. And with that confirmation, the configuration is complete. Time to do something interesting.
Developing modern web applications
To create a modern web application, often times referred to as a Rich Internet Application, or RIA, this article will leverage an HTML5 application assembler called Brunch.io and one of the many available application skeletons called Brunch with Chaplin, which builds on Backbone and can be used to create a SPA.
It’s worth mentioning that Brunch has skeletons available for a number of other frameworks, including Ember, AngularJS and Spine. Not sure which one to pick? Check out TodoMVC for an understanding of the differences.
Install and configure the application framework
Back in Ubuntu (you may need to SSH in again), from the bash prompt, cd to /vagrant/www and enter the following at the prompt to install the Brunch application assembler, create a new application using the default Brunch skeleton, install dependencies and build the app:
sudo npm install -g brunch && \
brunch new todomvc && cd todomvc && \
sudo npm install --no-bin-links && \ # Skip soft links to avoid symlink errors
brunch b
With the last command, a public directory will be created with the compiled source files. And because Vagrant sync is doing its thing, the application will immediately become available within Chrome at the following location: localhost:8080/todomvc/public/index.html.
But opening the page shows nothing, and there are few errors on the page. Let’s take a look at the page source and debug in the browser.
View the source and debug the errors
At first when the page is pulled up, errors are preventing the content from loading. The errors can be confirmed by opening the console in Chrome using Chrome Dev Tools using Ctrl+Shift+J.
Uncaught SyntaxError: Unexpected token < vendor.js:1
Uncaught SyntaxError: Unexpected token < app.js:1
Uncaught ReferenceError: require is not defined
Debugging will show that Nginx is responding with HTML for the external CSS and JS files, instead of the expected style and script resources. Why is that? Let’s take a look at the index.html page source by pasting this into your browser’s location/address bar:
view-source:http://localhost:8080/todomvc/public/index.html
It should look something like the following:
<!doctype html>
<!--[if IE 8]> <html class="no-js lt-ie9" lang="en"> <![endif]-->
<!--[if gt IE 8]><!--> <html class="no-js" lang="en"> <!--<![endif]-->
<head>
  <meta charset="utf-8">
  <meta http-equiv="X-UA-Compatible" content="IE=edge,chrome=1">
  <title>Brunch example application</title>
  <meta name="viewport" content="width=device-width">
  <link rel="stylesheet" href="/stylesheets/app.css">
  <script src="/javascripts/vendor.js"></script>
  <script src="/javascripts/app.js"></script>
  <script>require('initialize');</script>
</head>
<body>
</body>
</html>
It’s a fairly vanilla HTML5 document with some conditional comments for IE, Unicode character encoding, a couple of other meta tags, an empty body element and three root-relative external resources.
The errors themselves are occurring because the external resources cannot be located relative to the web root and so Nginx has decided instead to return the default index.html file–the one modified earlier. There are a few ways to fix this:
- Change the paths of the external resources to be document- rather than root-relative;
- Change the web root to point to the application’s public directory; and
- Configure Brunch to deploy files to the web root.
Though any of these options would work, we’re going to go with configuring brunch to deploy files to the web root. And, in the process, we’re going to move the web root back to its original location outside the reach of Vagrant synced folders. (Note: Storing generated files under synced folders is not recommended, and may lead to errors in the browser after running multiple builds.)
Move the web root outside of Vagrant synced folders
Earlier, the web root was modified by moving the Nginx www folder to /vagrant/www and creating a symlink pointing to the new location. Remove that symlink and create a new www folder in its place, so generated application files can be deployed to a location outside of Vagrant synced folders.
sudo rm /usr/share/nginx/www && \
sudo mkdir /usr/share/nginx/www
Configure app to deploy files to the web root
To configure the Brunch app to deploy files to the new location, modify the configuration file in the application root directory, add the following paths directive, save the file, and rebuild the application with sudo privileges:
paths:
  public: '/usr/share/nginx/www'
cd /vagrant/www/todomvc && sudo brunch b
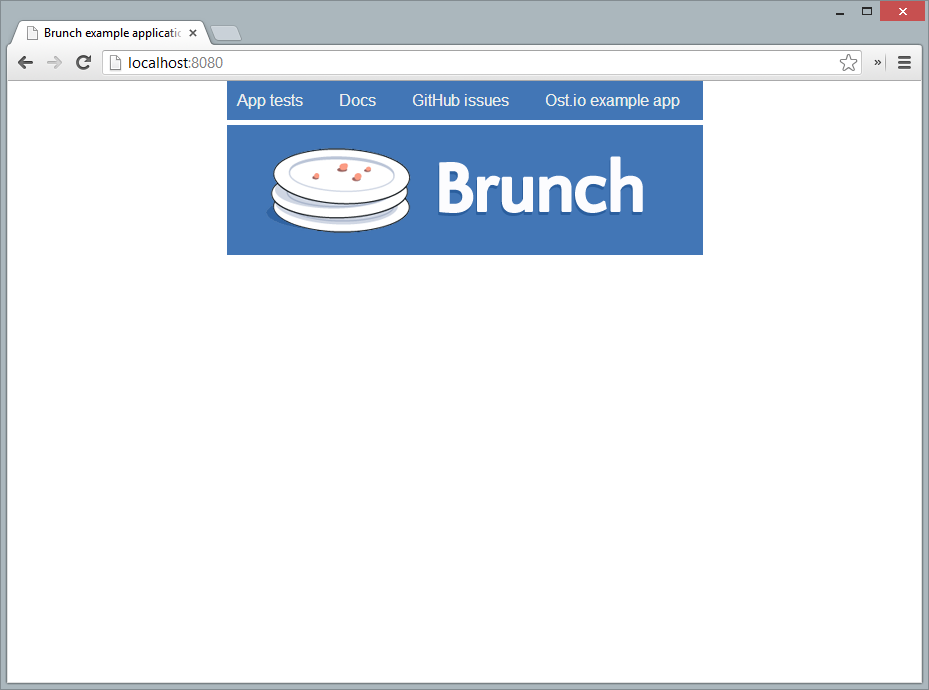
If done correctly, the Brunch app will now be available at the web root, or localhost:8080, free of errors and displaying an example application (as pictured below).
Looking at the view-source: for
localhost:8080/ again will show that the markup has not changed. That’s because the Brunch application is updating the DOM using JavaScript. To get a look at the actual DOM, open the Elements panel in Chrome Dev Tools or view the generated source using a
bookmarklet.
Before going any further, now is a good time to get acquainted with the application stack.
Get aquainted with the application stack
Once you have the sample app up-and-running, pull up the index.html page source once more and notice the following two external scripts:
<script src="/javascripts/vendor.js"></script>
<script src="/javascripts/app.js"></script>
These files contain script generated via Node.js, by way of the Brunch build system. To see where their contents come from, expand the app and vendor folders under todomvc in Sublime Text as shown:
Each of the two JS files in the page source represent all of the individual script files in each of the two directories, concatenated together as specified in config.coffee. Of the items under vendor, notice that
Backbone and
Underscore are included: two libraries that work well alongside jQuery (or Zepto, depending on when you read this) to produce the application structure necessary for developing modern web applications.
The stylesheets for the application are created in a similar manner, except that, unlike the script files, both the vendor and app stylesheets are combined into a single file. The behavior for CSS is determined by the following
files statement in config.coffee:
'stylesheets/app.css': /^(app|vendor)/
Glance over the Brunch documentation for a better understanding of the application structure and file concatenation before making any file modifications if none of this looks familiar.
Modify an application asset: the index.html
Modern web applications aren’t all dynamic. Just like the webpages developed with Dreamweaver back in the early 2000’s, RIAs are made of the same great stuff: HTML, CSS, JS and media like images.
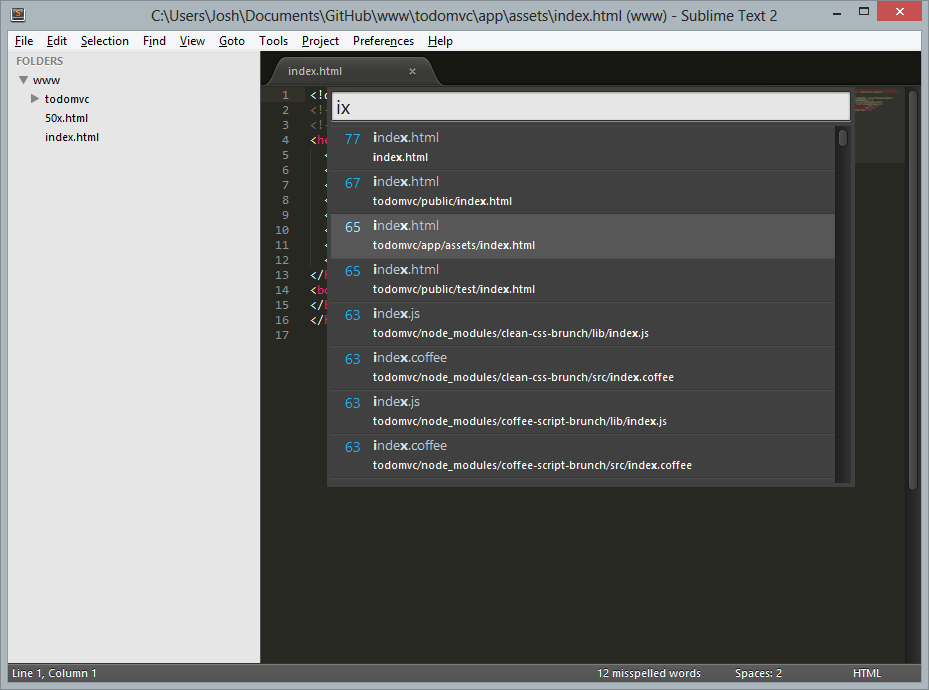
To add some content to the document, start Sublime’s Goto Anything feature using Ctrl+P, type ix and select the index.html file under the assets directory, as pictured, to open the file:
The contents of this file are the exact same as the corresponding file in the public directory (now deployed to the web root). But because this file is a pre-generated, static asset, it will actually overwrite the the same file in the public directory whenever a change is saved and the application is compiled.
Go ahead and change the
title element of index.html, and then save the file. Then tell brunch to compile the application again using sudo brunch b from the application root.
Once rebuilt, reload the page on the localhost and notice the page title has changed.
To summarize what happened here:
- Vagrant synced the
index.htmlfrom Windows with the corresponding file on the VM - Utilizing Node.js, Brunch noticed the change to the filesystem, and compiled the application
- The generated source was deployed to the web root directory Nginx uses
- The page was reloaded in the Windows browser, and Vagrant port-forwarded the request to Nginx running on the virtual machine
- Nginx served up the index.html file and generated application resources
And that’s just the beginning.
The more you know
There’s a lot more to learn about Vagrant, Backbone, Chaplin and Brunch, not to mention the libraries they rely on and plug-ins available for them. As an exercise, consider reviewing the Brunch documentation and learn how to build the application sources with file minification enabled. Simple, right? Now try installing Bootstrap… (Hint: Take a look at how Chapless Brunch does it.) What about once Bower is used for dependency management, scaffolt generators for rapid prototyping and build processes and unit testing are streamlined with tools like Grunt, Travis-CI, PhantomJS and testem? What then. How might the application grow?
Knowing what an application framework is capable of, and how to use it properly, can easily save many hours reinventing the wheel or digging out of coding anti-patterns, and can prove to be an enjoyable learning experience. In my personal experience, difficult problems can often be simplified by expanding one’s knowledge and finding a better way to do things. And I encourage others to do the same.
Summary
This article covered a series of steps which can be used for developing modern web applications on Windows. It started with a development environment configuration using Vagrant, progressed thru the steps needed for developing modern applications, and ended with some learning exercises and personal suggestions. Developing modern web applications no longer requires a Linux box or Mac OS X. So boot up that Windows machine, go forth and code.