
You know the drill. When you’re building for the Web or mobile performance is everything. Out of the box Sketch does not lend itself to producing flyweight images. But that doesn’t mean you need a second image editor, or even another tool, just to create performant images. Use these techniques to reduce file sizes and optimize images with Sketch.
Know what to optimize
First off, don’t overdo it. Optimizing images isn’t always necessary. So before you go hog wild shaving a measly 2KB off a bunch of images, think for a moment about the Pareto principle, better known as the 80-20 rule, and only optimize what’s absolutely necessary. Doing so will save you time and help you avoid diminishing returns.
Two simple methods to identify images worth optimizing:
-
Sort by size. This one is downright simple and probably often overlooked. In our current world of GSD we are not always paying attention to the details. As a result, it’s common to find image assets which are significantly larger than the others. Sorting exported assets by file size should make the large ones leap out so they can be addressed if necessary.
-
Listen to the data. If you’re building a website, run that shiny new blog post or landing page through the Pingdom Website Speed Test and see if you’re getting red flagged for image size. If you are, do something about it.
Using Sketch to optimize images
Unlike SVG vector images, which are lightweight to begin with, raster images such as TIFFs, JPGs and PNGs can be quite bulky when it comes to file size. Utilize the following techniques when exporting assets to slim them down and optimize images with Sketch.
Export the correct format
By default Sketch wants to export everything as a PNG. While that may be good for image fidelity, it’s not always what you want when saving for the Web.
If you’re exporting a photograph, export as JPG. JPEG is a lossy format, so each time it’s optimized it loses quality. If you’re familiar with VHS tapes, a simple analogy is what happens when you make a copy of a copy. You lose quality. So be sure to hang onto the original when optimizing images so they can be reoptimized later.
If you’re exporting a screenshot, something with transparency, an illustration, or a diagram with sharp lines, export as PNG. Though PNGs can be lossy if the number of bits used to save a file change (e.g. saving a PNG-32 as PNG-8), Sketch doesn’t seem to have this option so fuggetaboutit.
Scale down size
Always look for ways to scale image size down. If the width of your image width is more than 1028 pixels, and you’re not planning on displaying it on a HD jumbotron at the next Superbowl, consider locking the image dimensions and decreasing the width. I find for JPGs 1028 pixel width still looks pretty good even on a 15-inch Retina Display. And if you can get away with less while still maintaining a good experience, go for it.
Use lower quality
This is particularly useful for large JPGs, often used for aesthetics or visual trim. When exporting as JPG try dialing down the quality from 90% to something radically less, say 40% to 60%, preview it, and see if there’s a noticeable difference in fidelity. If there’s not, you’ve just struck gold my friend. But if there is, simply dial the quality back up by halves until you strike a good balance between size and fidelity.
Responsive images and thumbnails
If you’re displaying thumbnail versions of your images on a website, using the srcset attribute or picture element, consider saving multiple versions of your images, each at smaller sizes. A little planning and automation here can go a long way to save bytes down the wire while at the same time improving UX.
Additional considerations
When exporting JPGs from Sketch there’re a couple of checkboxes in the export dialog called Progressive and Save for Web. Consider using them.
Progressive rendering will allow your image to load more quickly on slower connections by rendering the images in several passes, each pass with a higher fidelity, which can be good for larger images and helps get content on screen more quickly.
Saving for Web will remove unneeded metadata from file headers, making the resulting size a little smaller. The more the better, and in this case less is more.
Summing things up
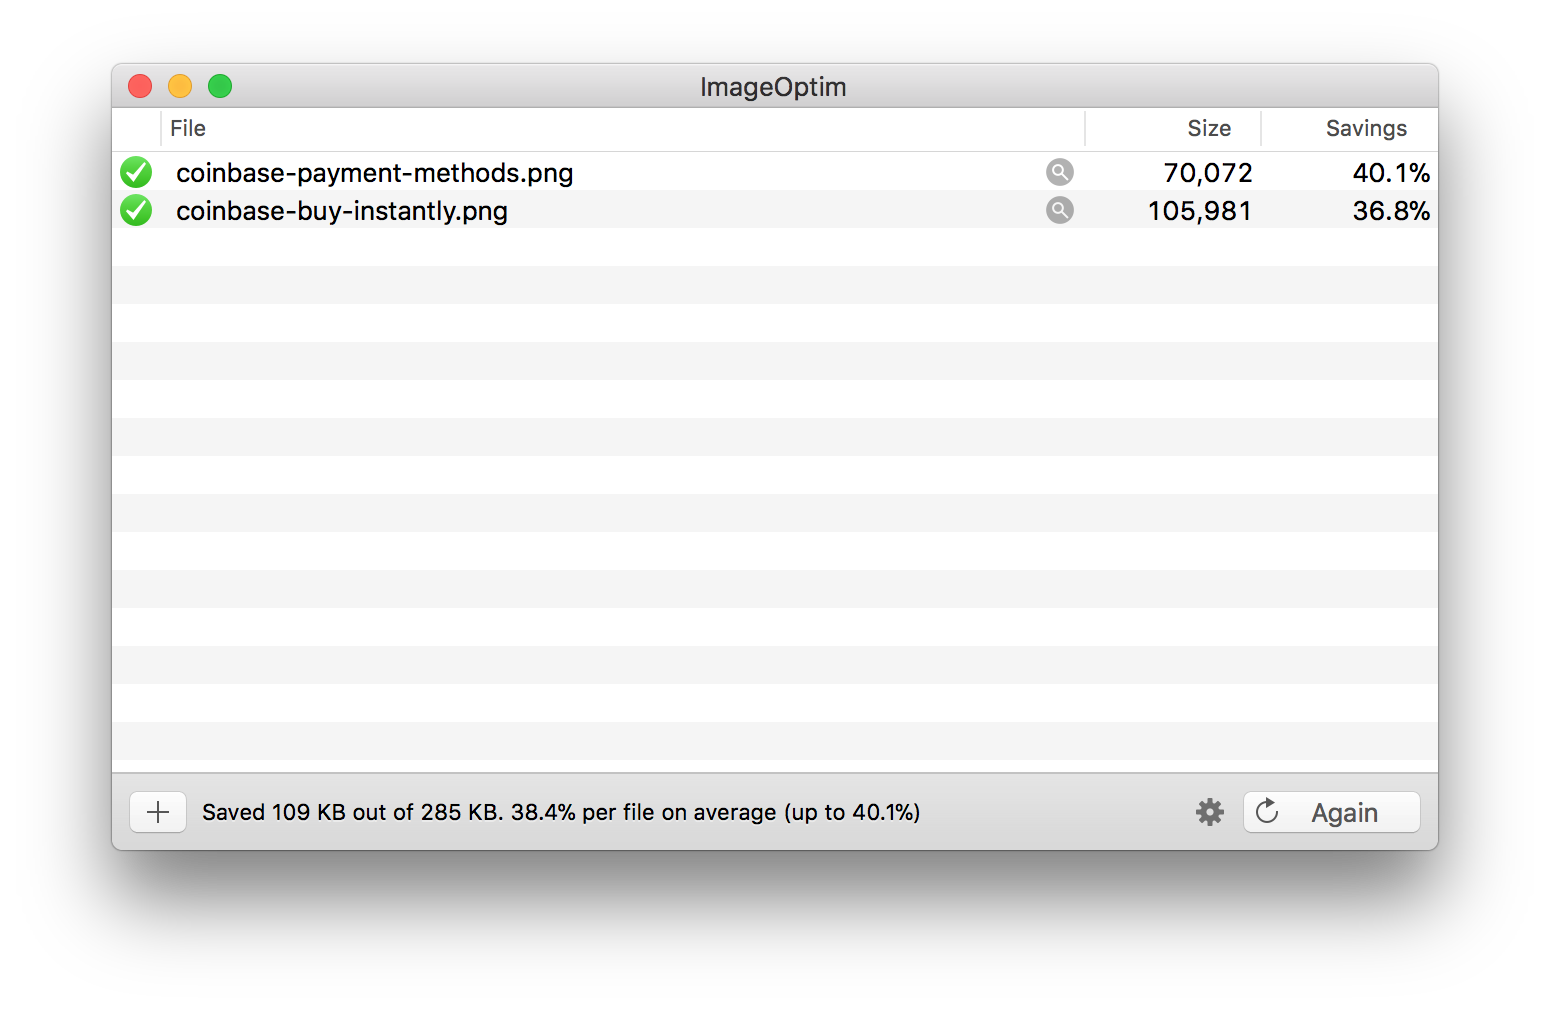
The above techniques will help maintain a reasonable level of fidelity while optimizing images with Sketch without introducing a lot of complexity, or additional tools or processes. If you’re looking for something with a little more oomph check out the ImageOptim plugin for Sketch. Install it using the Sketch Plugin Manager for additional gains. With ImageOptim installed the plug-in will automatically squish exported images as shown here:
And if you want to nerd out on image compression check out the following additional resources:
Happy optimizing!