
Are you familiar with the concept of “habit fields”? They’re these magical auras we give to everyday objects, assigning them purpose and allowing us to focus our awareness to accomplish tasks faster. But habit fields can work against you as well, if you’re not careful:
If you’ve been trying to do everything from one place and one device, then you may need to make a conscious decision to divide different modes of behavior.
Jack Cheng, Habit Fields (2010)
One device you may be trying to do everything from one place is the MacBook Pro. With the beefy specs on the flagship Apple notebook it can be easy to piledrive too many activities all into one place, affecting your Mac’s habit field.
But there’s a trick you can use to divide different modes of behavior on a Mac. And that’s to add a second operating system and dual-boot. Here’s how to install and dual-boot Manjaro Linux alongside macOS on a MacBook Pro.
Test Driving Manjaro
You don’t need to make any permanent changes to your Mac to try Manjaro. In fact, all you really need is a reasonably-sized thumb drive, balenaEtcher and a few gigs of bandwidth to download and try one of the 11 different editions:
| Edition | Description |
|---|---|
| XFCE | For people who want a reliable and fast desktop…Xfce is a lightweight desktop environment for UNIX-like operating systems. It aims to be fast and low on system resources, while still being visually appealing and user friendly. Xfce embodies the traditional UNIX philosophy of modularity and re-usability. It consists of a number of components that provide the full functionality one can expect of a modern desktop environment. They are packaged separately and you can pick among the available packages to create the optimal personal working environment. |
| KDE | For people who want a modern and very flexible desktop…KDE is a feature-rich and versatile desktop environment that provides several different styles of menu to access applications. An excellent built-in interface to easily access and install new themes, widgets, etc, from the internet is also worth mentioning. While very user-friendly and certainly flashy, KDE is also quite resource heavy and noticably slower to start and use than a desktop environment such as XFCE. A 64 bit installation of Manjaro running KDE uses about 550MB of memory. |
| Cinnamon | For people who look for a traditional desktop…This edition is supported by the Manjaro community and comes with Cinnamon, a desktop based on modern technology that keeps known and proven concepts. |
| Openbox | For power users and developers…This edition is supported by the Manjaro community and comes with openbox, a highly configurable, next generation window manager with extensive standards support… |
| Awesome | For power users and developers…This edition is supported by the Manjaro community and comes with Awesome, a highly configurable, next generation framework window manager for X. |
| Budgie | For people who want a simple an elegant desktop…This edition is supported by the Manjaro community and comes with Budgie, the desktop of the Solus project. Budgie focuses on providing a simple-to-use and elegant desktop that fulfills the needs of a modern user. |
| Mate | For people who look for a traditional experience…This edition is supported by the Manjaro community and comes with Mate, a desktop environment that continues the legacy of traditional user experience while carefully improving and modernizing it when needed. This preview is not suitable for production environment. |
| i3 | For people who want a tiling window manager…This edition is supported by the Manjaro community and comes with i3, a tiling window manager. |
| Architect | For people who want to configure Manjaro from the ground up…Manjaro-Architect is a fork of the famous Architect Linux installer by Carl Duff, that has been modified to install Manjaro instead of Arch Linux. It is a netinstaller that downloads always the latest packages, so your system is always up to date after installation, regardless of how old your install media is. |
| Deepin | For people who want a simple and elegant desktop…This edition is supported by the Manjaro community and comes with the Deepin desktop that provides a very beginner-friendly and elegant experience. |
| GNOME | For people who want a simple and elegant desktop…This edition is supported by the Manjaro team and comes with the GNOME 3 desktop that breaks with traditional concepts and allows users to focus on their tasks. Desktop-specific applications are crafted with care and clearly defined by guidelines that make them more consistent to use. |
Once you’ve selected an edition go ahead and etch it to the thumb drive, reboot and hold Option during start-up to dual-boot from USB as described here.
Tip: Not sure which edition to choose? Download a few and spin them up in a VirtualBox virtual machine to give yourself a rough idea of look-and-feel.
disk you inserted was not readable along with three buttons. Choose Ignore to dismiss the dialog or remove the drive.
After test driving a few I selected Cinnamon (later switching to Deepin).
Booting Manjaro from Hard Disk
Once you’ve settled on an edition you can dual-boot it alongside macOS directly from your Mac’s internal hard disk – no special tooling required.1
Note: Macs with a T2 chip will require additional work to run Linux.
While booting from disk isn’t strictly necessary doing so will give you a better opportunity to form a strong habit field given its permanence and the steps required to get there: the first of which is creating a backup.
Create System Backup
Before making any changes to your Mac’s internal hard disk take the time to create a proper backup of macOS. In doing so you’ll likely uncover many things you don’t need. Get rid of or archive as much of them as you can.
Purging clutter will improve your machine’s existing habit field even before you begin to realize the additional benefits received after installing Manjaro.
Shrink Macintosh HD Volume
With your back-up complete use the macOS Disk Utility app to Partiton your Macintosh HD volume, adding a new partition to make space for Manjaro. Several suggestions I saw online lobbied for a 20–25 GB partition for *nix distros. I’d say 20–25 GB is reasonable… if you plan to run out of space in two months.
Depending on your intentions, and unless this is a test installation, aim for 20% or so of your SSD to give yourself ample room to grow into Manjaro:
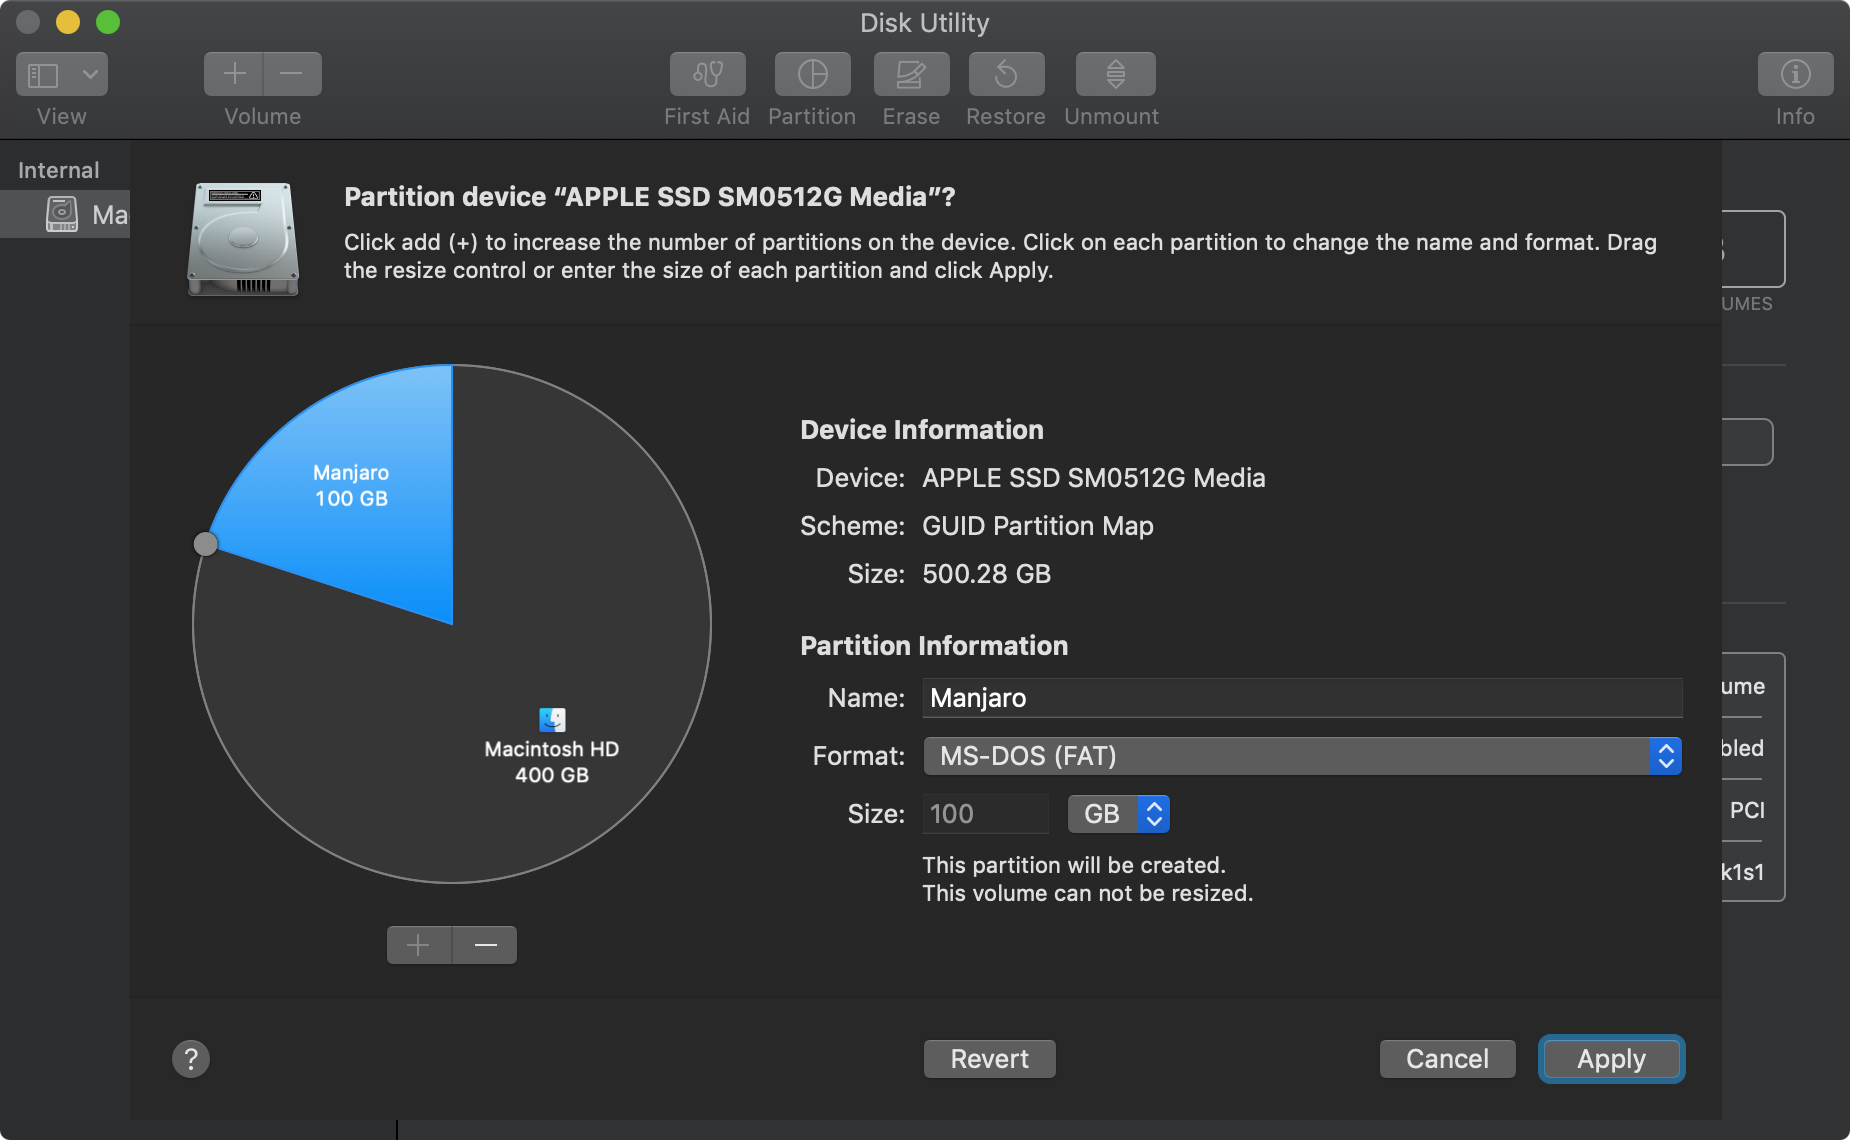
When you Apply the new partition Disk Utility will automatically shrink your Macintosh HD volume. Go ahead and do that now or before proceeding, selecting FAT or ExFAT as the Format option and considering any alerts presented.
When the operation is finished you’ll receive the result and a log:
Expand to view example operation log
Partitioning disk “APPLE SSD SM0512G Media” (disk0)

Running operation 1 of 2: Add “Manjaro” 100 GB by splitting “Macintosh HD” (disk0s2) from 499.93 GB to 399.93 GB…
Aligning shrink delta to 100,134,608,896 bytes and targeting a new physical store size of 399,933,427,712 bytes
Determined the minimum size for the targeted physical store of this APFS Container to be 334,017,929,216 bytes
Resizing APFS Container designated by APFS Container Reference disk1
The specific APFS Physical Store being resized is disk0s2
Verifying storage system
Using live mode.
Performing fsck_apfs -n -x -l -S /dev/disk0s2
Checking the container superblock.
Checking the EFI jumpstart record.
Checking the space manager.
Checking the space manager free queue trees.
Checking the object map.
Checking volume.
Checking the APFS volume superblock.
The volume Macintosh HD was formatted by hfs_convert (748.1.46) and last modified by apfs_kext (945.241.4).
Checking the object map.
Checking the snapshot metadata tree.
Checking the snapshot metadata.
Checking the extent ref tree.
Checking the fsroot tree.
Storage system check exit code is 0.
Shrinking APFS Physical Store disk0s2 from 500,068,036,608 to 399,933,427,712 bytes
Shrinking APFS data structures
Shrinking partition
Modifying partition map
Initialized /dev/rdisk0s3 as a 93 GB case-insensitive HFS Plus volume with a 8192k journal

Mounting disk
Creating a new empty APFS Container
Unmounting Volumes
Switching disk0s3 to APFS
Creating APFS Container
Created new APFS Container disk3
Preparing to add APFS Volume to APFS Container disk3
Creating APFS Volume
Created new APFS Volume disk3s1
Mounting APFS Volume
Setting volume permissions

Running operation 2 of 2: Erase “Manjaro” (disk3s1)…
Deleting APFS Container with all of its APFS Volumes
Unmounting Volumes
Unmounting Volume “Manjaro” on disk3s1
Deleting Volumes
Deleting Container
Wiping former APFS disks
Switching content types
Unmounting disk
Erasing
4096 bytes per physical sector
/dev/rdisk0s5: 195263872 sectors in 3050998 FAT32 clusters (32768 bytes/cluster)
bps=512 spc=64 res=32 nft=2 mid=0xf8 spt=32 hds=255 hid=781531136 drv=0x80 bsec=195311616 bspf=23840 rdcl=2 infs=1 bkbs=6

Mounting disk

Operation successful.
If successful, confirm the size and format of the new partition:
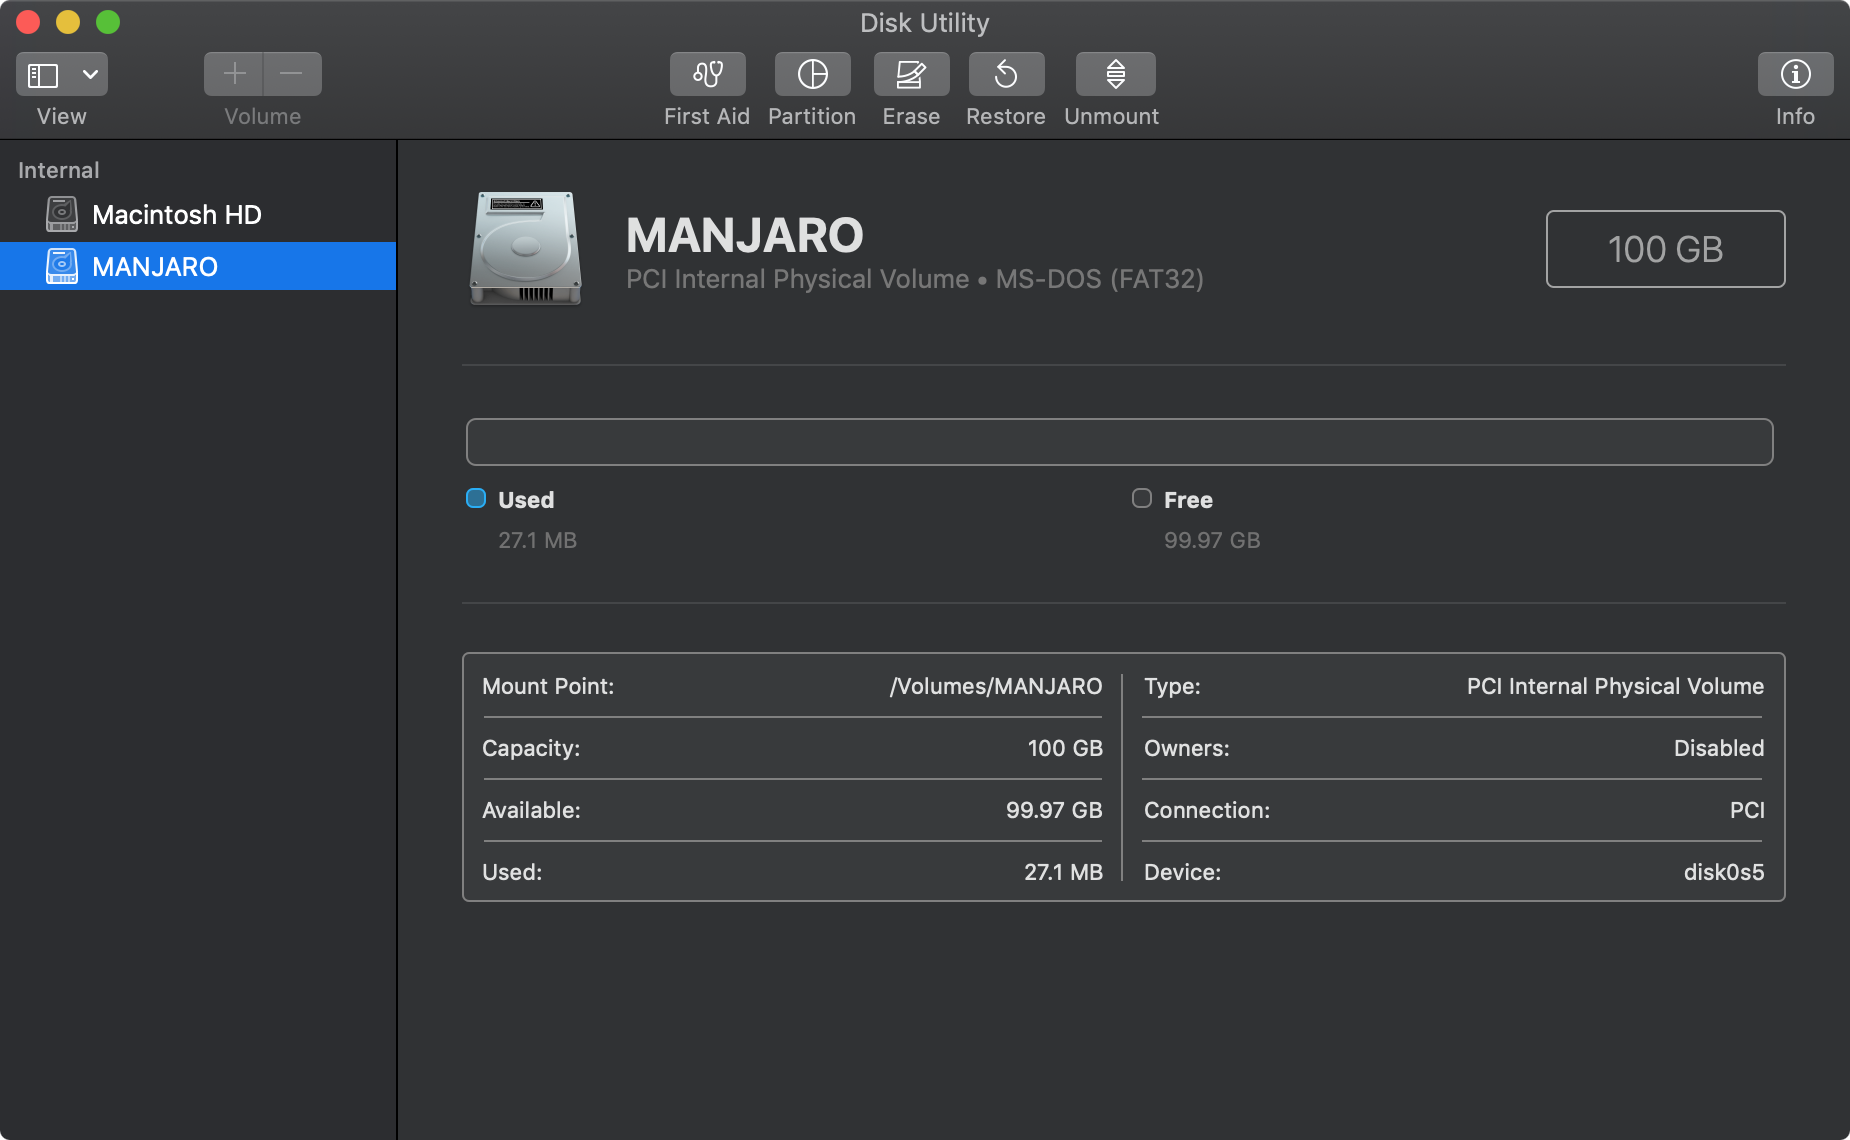
When everything looks good proceed to install Monjaro to the disk.
Install Manjaro to Apple SSD
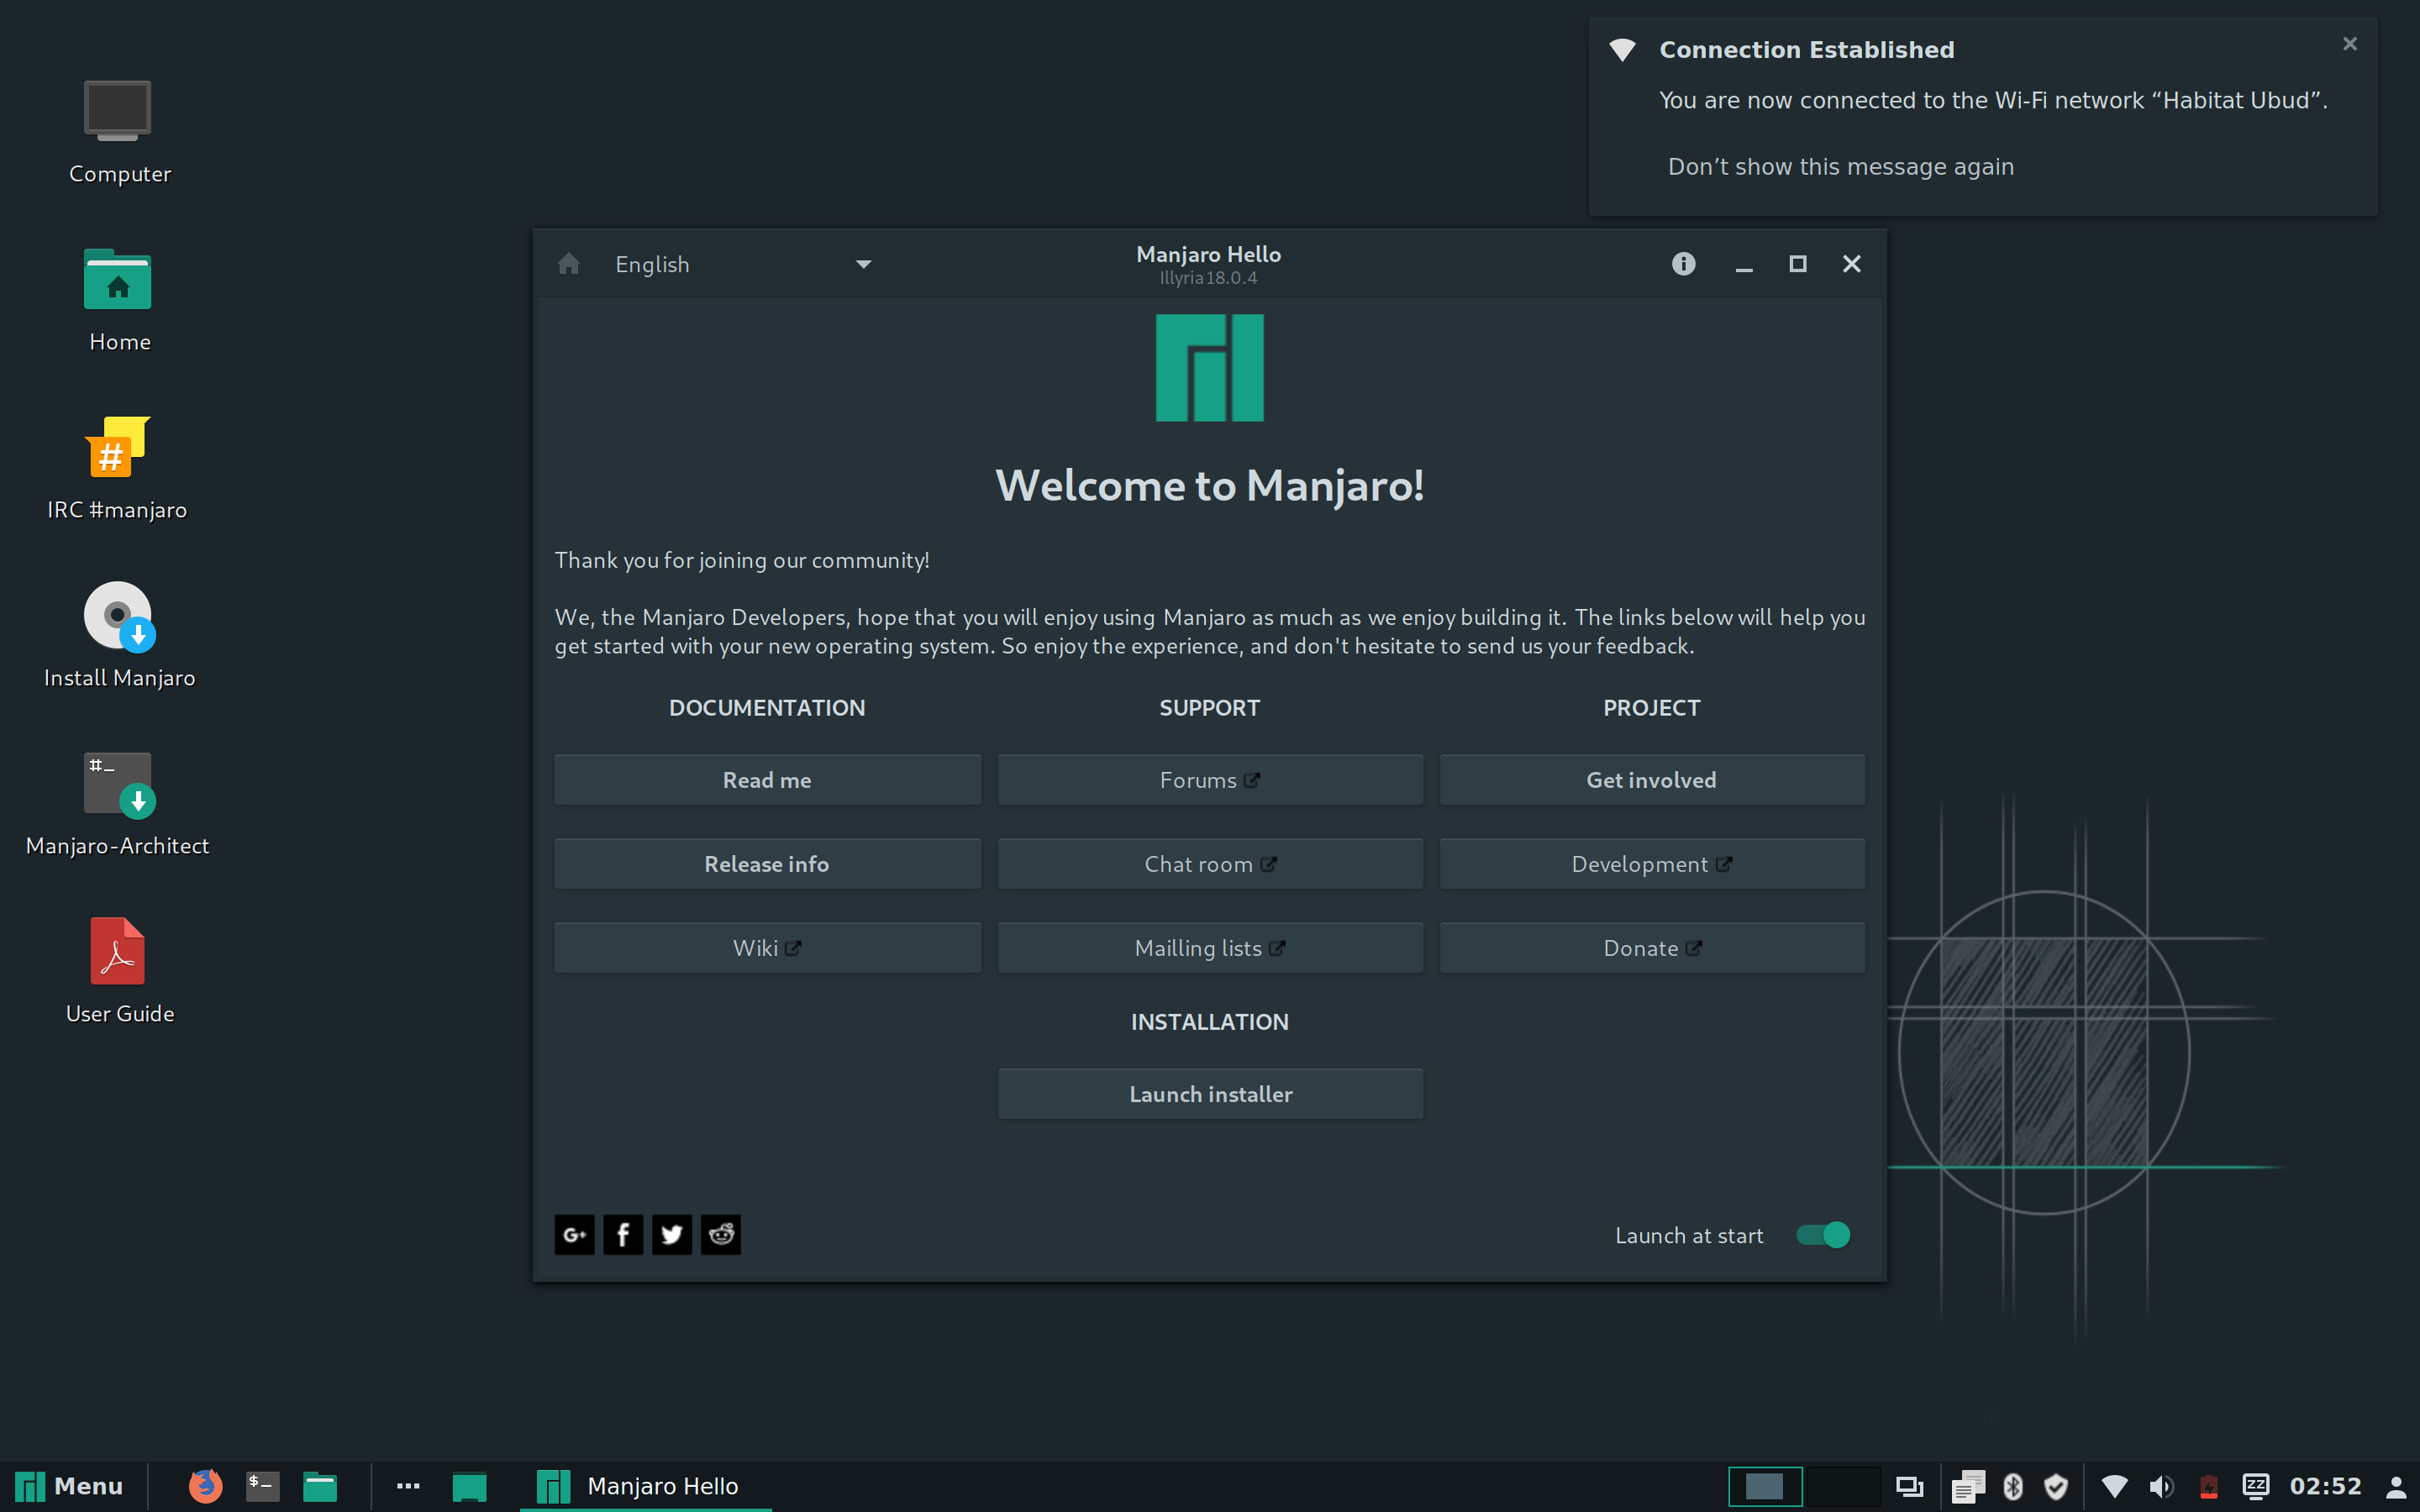
To install Manjaro to the to internal drive partition boot once more from USB, connect to the Internet and run Install Manjaro using the optical disk icon 💿 on the Manjaro desktop as shown here:
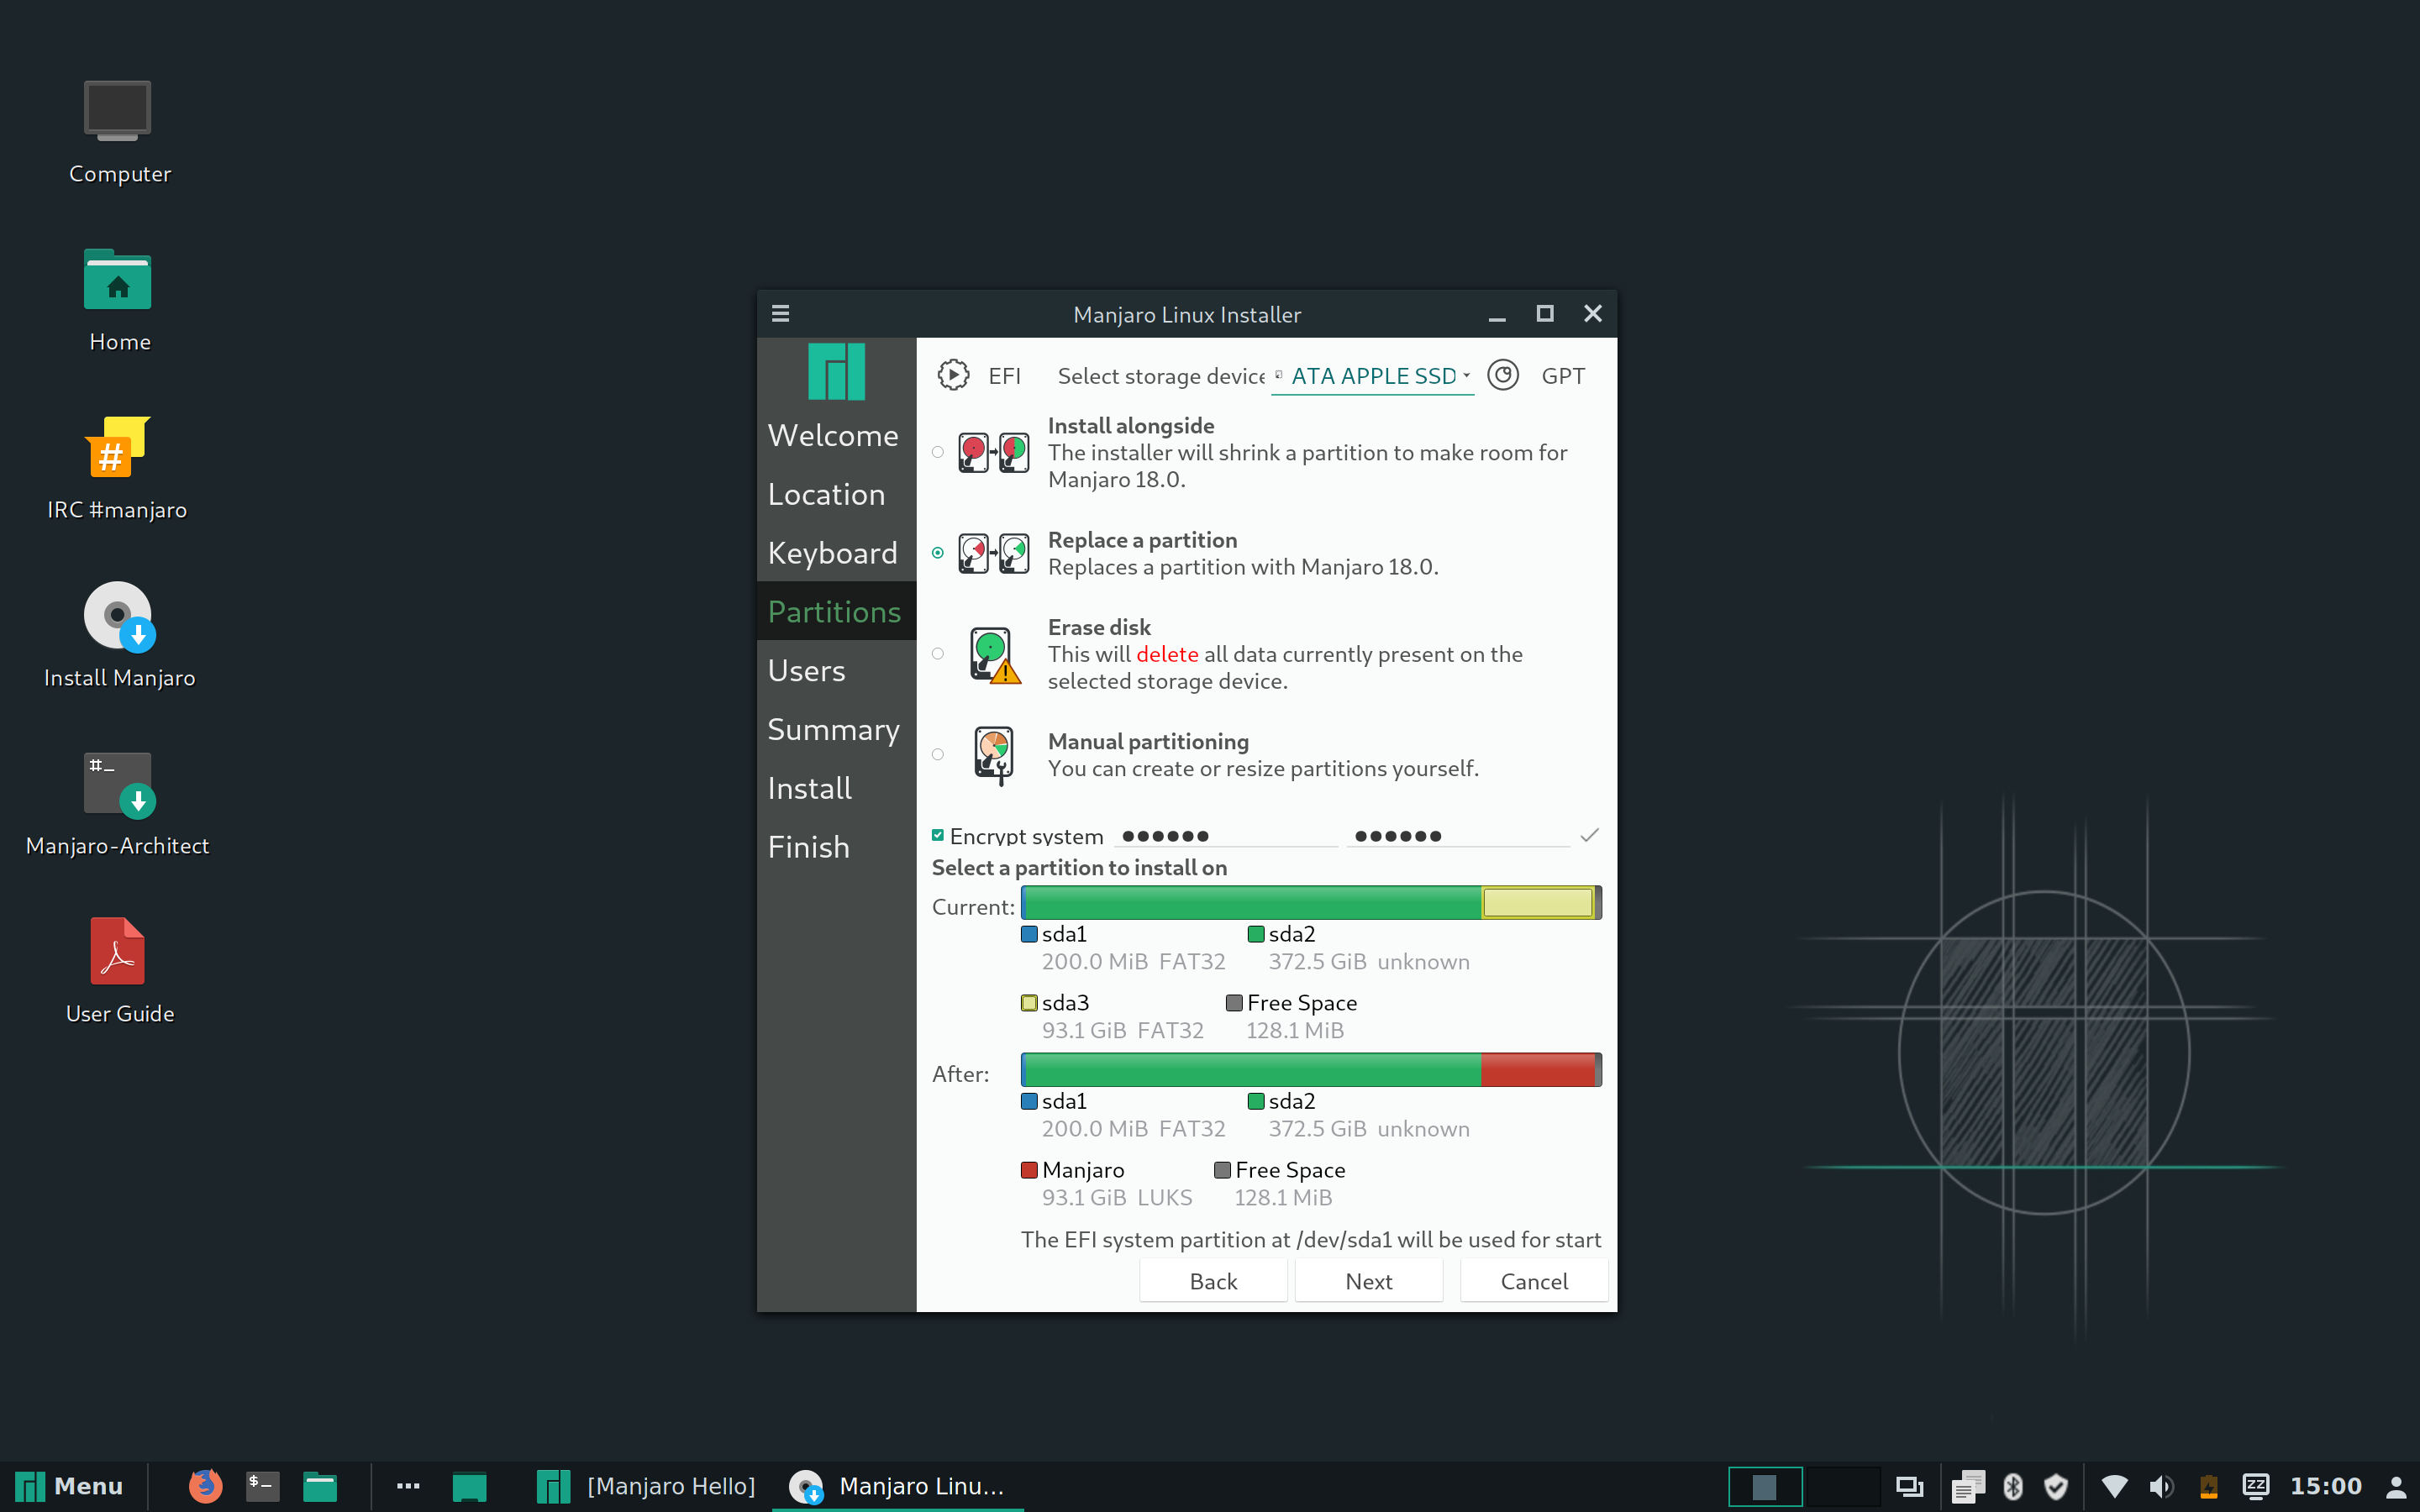
Complete the installer wizard up to the Partitions section then:
- Choose the Replace a parition option
- Select the new partition created while shrinking (i.e. 100 GB partition)
- Check the Encrypt system checkbox and enter a password
You should end up seeing something like this:
From there complete the rest of the wizard, review the summary, and then click Install followed by Install now. Installation should complete in 5–10 minutes.
When installation is finished you will be notified with an All Done message:

Then restart your computer as you would normally (power cycle if needed) and brace yourself for a black screen with some text that looks like this:
APFSStart:1544: Mounting with apfs_efi_osx-945.241.4
efi_fusion_pairing:666: Container 59367f23-39f9-4429-8cfa-a113a4c80087
efi_fusion_pairing:671: fusion uuid: 00000000-0000-0000-0000-000000000000
efi_container_create:970: Volume attached is internal
nx_kernel_mount:1461: : checkpoint search: largest xid 1753072, best xid 1753072
 @ 59
er_state_obj_get_for_recovery:4214: No ER state object for volume Preboot - roll
ing is not happening, nothing to recover.
er_state_obj_get_for_recovery:4214: No ER state object for volume Recovery - rol
ling is not happening, nothing to recover.
er_state_obj_get_for_recovery:4214: No ER state object for volume VM - rolling i
s not happening, nothing to recover.
Attempting to decrypt master key...
Enter passphrase for hd6,gpt3 (48011d711fe84f93ba896416151814e2):
Oh snap you bricked your Mac!
Just kidding. That’s LUKS pre-boot authentication prompting you for the password to your encrypted volume. Enter the password set during Manjaro installation and press Enter…
You’ll see Slot 0 opened briefly flash on the screen before being transported to your new Manjaro desktop following a short boot sequence:
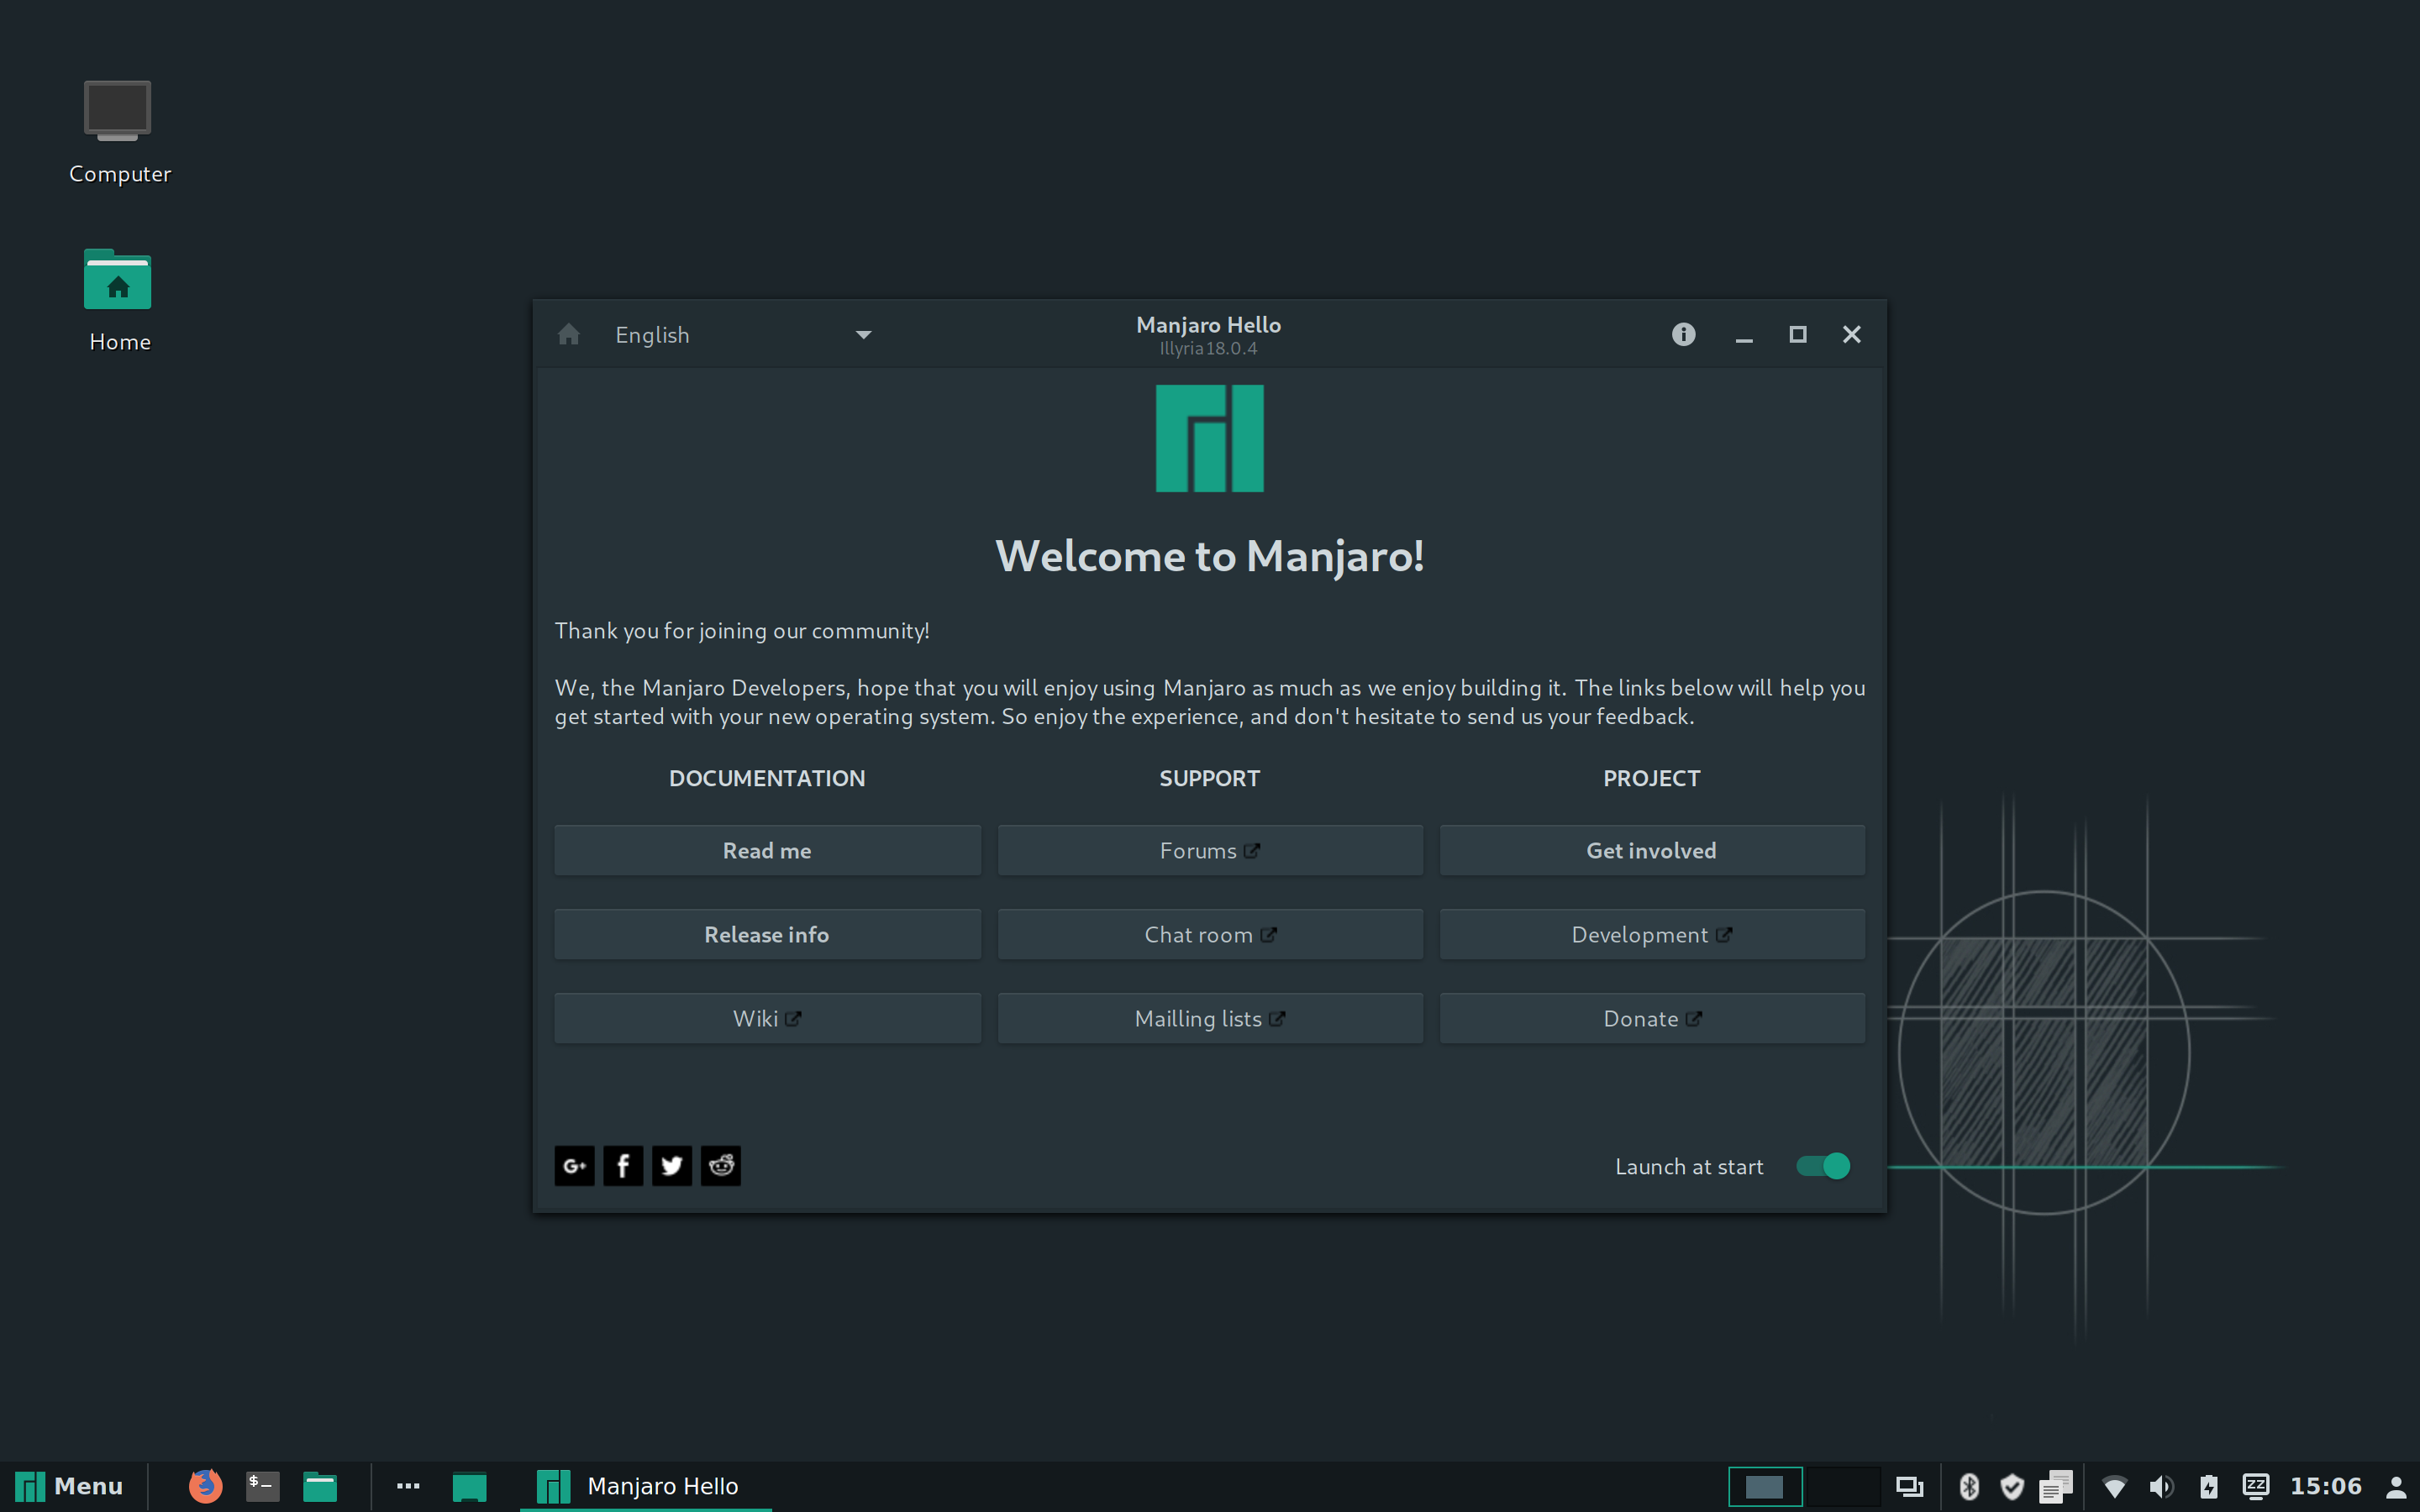
And with that you’ve completed installing Manjaro to your Apple SSD.
Select Your Boot Option
If you’d like to boot into macOS hold the Option key during system boot and select Macintosh HD. To boot to into Manjaro simply enter your LUKS password after restarting your computer. And if for some reason this isn’t feasible for you you now know everything you need to reinstall Manjaro without encryption.
Troubleshooting
Some MacBooks have an Apple T2 Security Chip which you may need to deactivate in order to use Linux. See About Security on Apple Support for more info.
WARNING: Some 15-inch MacBook Pro units have a battery recall due to overheating which could present a fire safety risk during general use.
If you run into any hiccups with Manjaro there’re a bevy of resources on the Manjaro Wiki and a modern, easy-to-use support forum.
Personal Experience
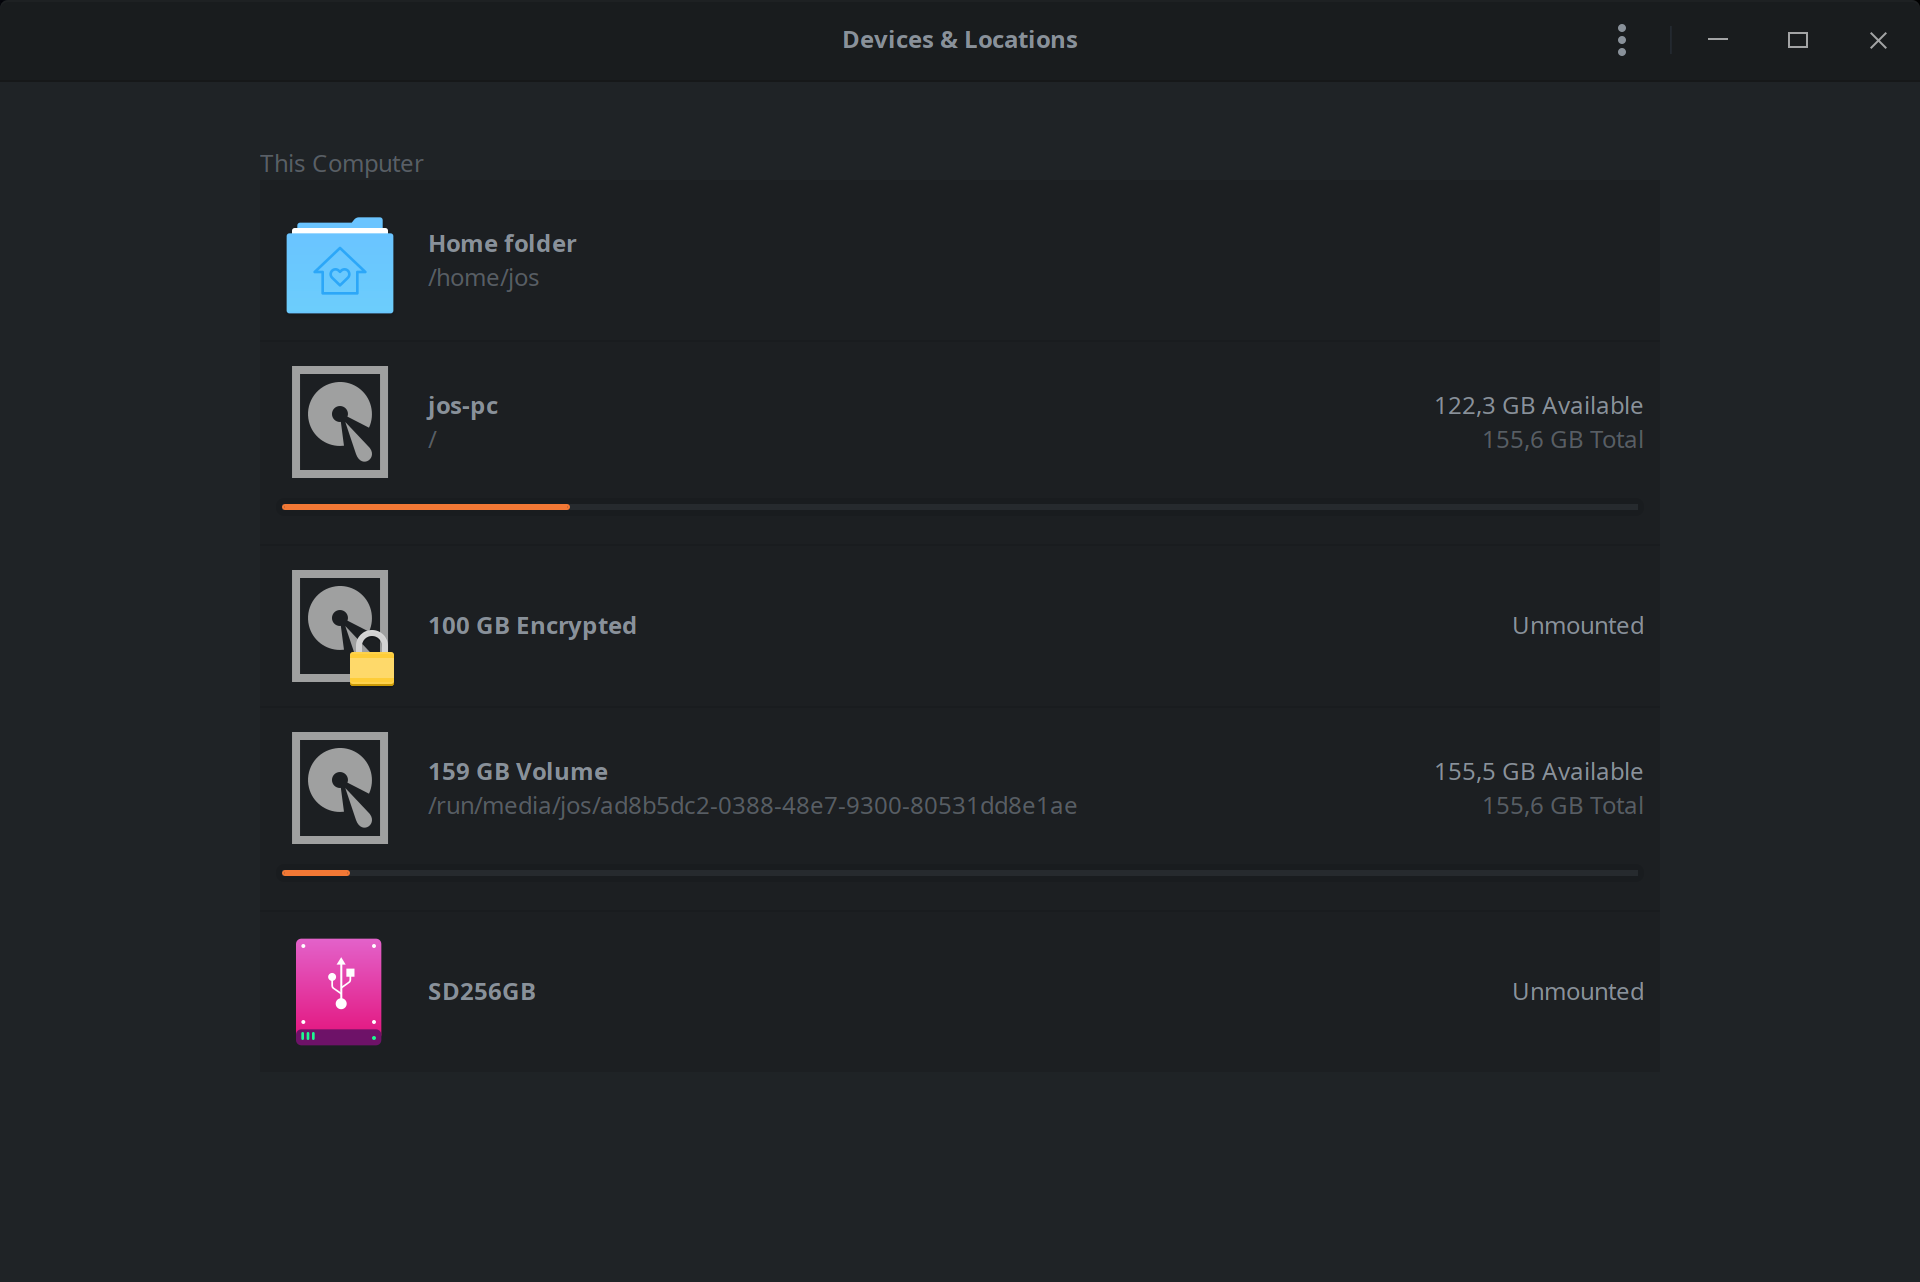
After 3 months using Cinnamon I decided to switch to Manjaro Deepin by following the above steps to create a second 150GB, non-encrypted disk partition:
Deepin offers the same Adapta Nokto Eta Maia theme Cinnamon was previously defaulting too, but does you one better by offering a Deepin UI theme which is superior IMO. Regardless of which you choose Deepin offers a much more polished and user-friendly interface than any other Linux DE I’ve ever seen.
In fact, I love Deepin so much I made a quick video using its screen recording tool showing how it can be modified to look like Windows, macOS or GNOME:
If you like what you see, give Deepin a try. Though I cannot personally recommend their distro given its limited amount of software – a solved problem with Manjaro.
Summary
In this tutorial I covered the concept of habit fields and how to create one by dual-booting Manjaro Linux alongside macOS on a MacBook Pro. I then weighed in on my experiences after 3 months of using Manjaro to describe how it affected me.
Not only will dual-booting increase the utility and enjoyment of your Mac, your new Manjaro operating system will give you the ability to focus your awareness and get creative with your MacBook in ways you never before imagined possible.
If you’re a developer using an Apple machine, you owe it to yourself to step outside your comfort zone and see what else is out there. Linux has come a very long way over the last 10 years and it’s only getting better.