
One of the motivations behind dual-booting Linux on my MacBook Pro was to take back control of my personal data. Not just because Apple uses faux encryption on iCloud. And not because macOS has been shown to leave users open to eavesdropping exploits. But because when I use my Mac with macOS the operating system gratuitously beams out activity records1, sharing information I’d rather keep private with people I don’t personally know nor have I ever met. And without the ability to shut it off, I find my privacy – the sentient and autonomous nature of my very being – constantly under attack.
In many instances, privacy is threatened not by singular egregious acts, but by a slow series of relatively minor acts which gradually begin to add up.
I've Got Nothing to Hide and Other Misunderstandings of Privacy
In this short guide I’ll show you how to encrypt and route your local Internet traffic through a fast, modern, and secure VPN tunnel called WireGuard using a free and open source operating system called Manjaro Linux. I will explain how to install WireGuard on Manjaro, share a simple means of establishing and testing an encrypted Internet connection, and leave you with next steps and personal experience to help further your understanding and gain confidence getting started.
I see that Jason actually made the pull request to have wireguard included in the kernel. Can I just once again state my love for it and hope it gets merged soon? Maybe the code isn't perfect, but I've skimmed it, and compared to the horrors that are OpenVPN and IPSec, it's a work of art.
Linus Torvalds, LKML (2 Aug 2018)
Follow along if you’re ready take back control of your personal data too.
Install WireGuard
Unlike other VPN tunnels WireGuard runs entirely in the kernel. Currently it runs as a kernel module using DKMS. To start using it download and install the linux-headers package for module support, and also install the wireguard-dkms module and tools:
sudo pacman -S linux-headers wireguard-dkms wireguard-tools
The DKMS module will activate itself during post-transaction hooks. If you have multiple kernels installed, expect to see Missing kernel headers appear for some kernels until headers for those kernels are installed (optional).
Confirm DKMS module installation run:
dkms status
You should see output like:
wireguard, 0.0.20190227, 5.0.5-1-MANJARO, x86_64: installed
If you do, installation is complete. Otherwise, run sudo modprobe wireguard to check for errors and be sure you install headers for the current kernel.
Visit the Manjaro Kernels wiki for info on managing kernels and how to switch between them. If you run into issues, head to the Manjaro Forums for help.
Connection Setup
Before you can tunnel anywhere you need a VPN gateway. There are literally hundreds of options to choose from. But for simplicity we’ll use Mullvad, chosen for its ease-of-use, reasonable privacy and Bitcoin payment support.
Start by solving a math problem to generate a Mullvad acccount number. From here you’ll have 3 hours on this account to try out Mullvad for free.
Take note of your account number then navigate to WireGuard config generator and enter your desired settings. If you’re not sure what to enter try:
- Enter Account number generated
- Leave Platform as Linux
- Leave Key pair as Generate new key pair
- Select Server location of your choice (i.e. Hong Kong)
- Select Multihop server if desired (i.e. Singapore) ( what's this?)
- Expand Advanced settings and enable Kill switch
From there choose Download. Mullvad will give you conf file based on your config settings. Save the file to Downloads then modify its file permissions:
cd ~/Downloads && \
sudo chown root:root mullvad*.conf && \
sudo chmod 600 mullvad*.conf
Next run ls -al | grep mullvad to confirm ownership and file permissions:
-rw------- 1 root root 720 Apr 16 15:45 mullvadsg1hk1.conf
Then move the file to the protected /etc/wireguard directory:
sudo mv mullvad*.conf /etc/wireguard
Now bring up the interface with wg-quick wireguard tool installed earlier:
wg-quick up mullvadsg1hk1
You should see output like:
Expand to view output...
[#] ip link add mullvadsg1hk1 type wireguard
[#] wg setconf mullvadsg1hk1 /dev/fd/63
[#] ip address add 10.99.36.73/32 dev mullvadsg1hk1
[#] ip address add fc00:bbbb:bbbb:bb01::2449/128 dev mullvadsg1hk1
[#] ip link set mtu 1420 up dev mullvadsg1hk1
[#] resolvconf -a mullvadsg1hk1 -m 0 -x
[#] wg set mullvadsg1hk1 fwmark 51820
[#] ip -6 route add ::/0 dev mullvadsg1hk1 table 51820
[#] ip -6 rule add not fwmark 51820 table 51820
[#] ip -6 rule add table main suppress_prefixlength 0
[#] ip -4 route add 0.0.0.0/0 dev mullvadsg1hk1 table 51820
[#] ip -4 rule add not fwmark 51820 table 51820
[#] ip -4 rule add table main suppress_prefixlength 0
[#] iptables -I OUTPUT ! -o mullvadsg1hk1 -m mark ! --mark $(wg show mullvadsg1hk1 fwmark) -m addrtype ! --dst-type LOCAL -j REJECT && ip6tables -I OUTPUT ! -o mullvadsg1hk1 -m mark ! --mark $(wg show mullvadsg1hk1 fwmark) -m addrtype ! --dst-type LOCAL -j REJECT
In my case I saw a errors the first time I ran it:
[#] resolvconf -a mullvadsg1hk1 -m 0 -x
Error: ipv4: FIB table does not exist.
Dump terminated
Error: ipv6: FIB table does not exist.
Dump terminated
[#] wg set mullvadsg1hk1 fwmark 51820
After bringing the interface down and back up the errors stopped.
Heads Up! Mullvad docs
suggest Debian and Ubuntu users install openresolv to avoid DNS leaks caused by a
Debian bug identified and ticketed by the creator of WireGuard. In Manjaro openresolv should be installed already.
With your interface up, point a browser at am.i.mullvad.net. You should see:
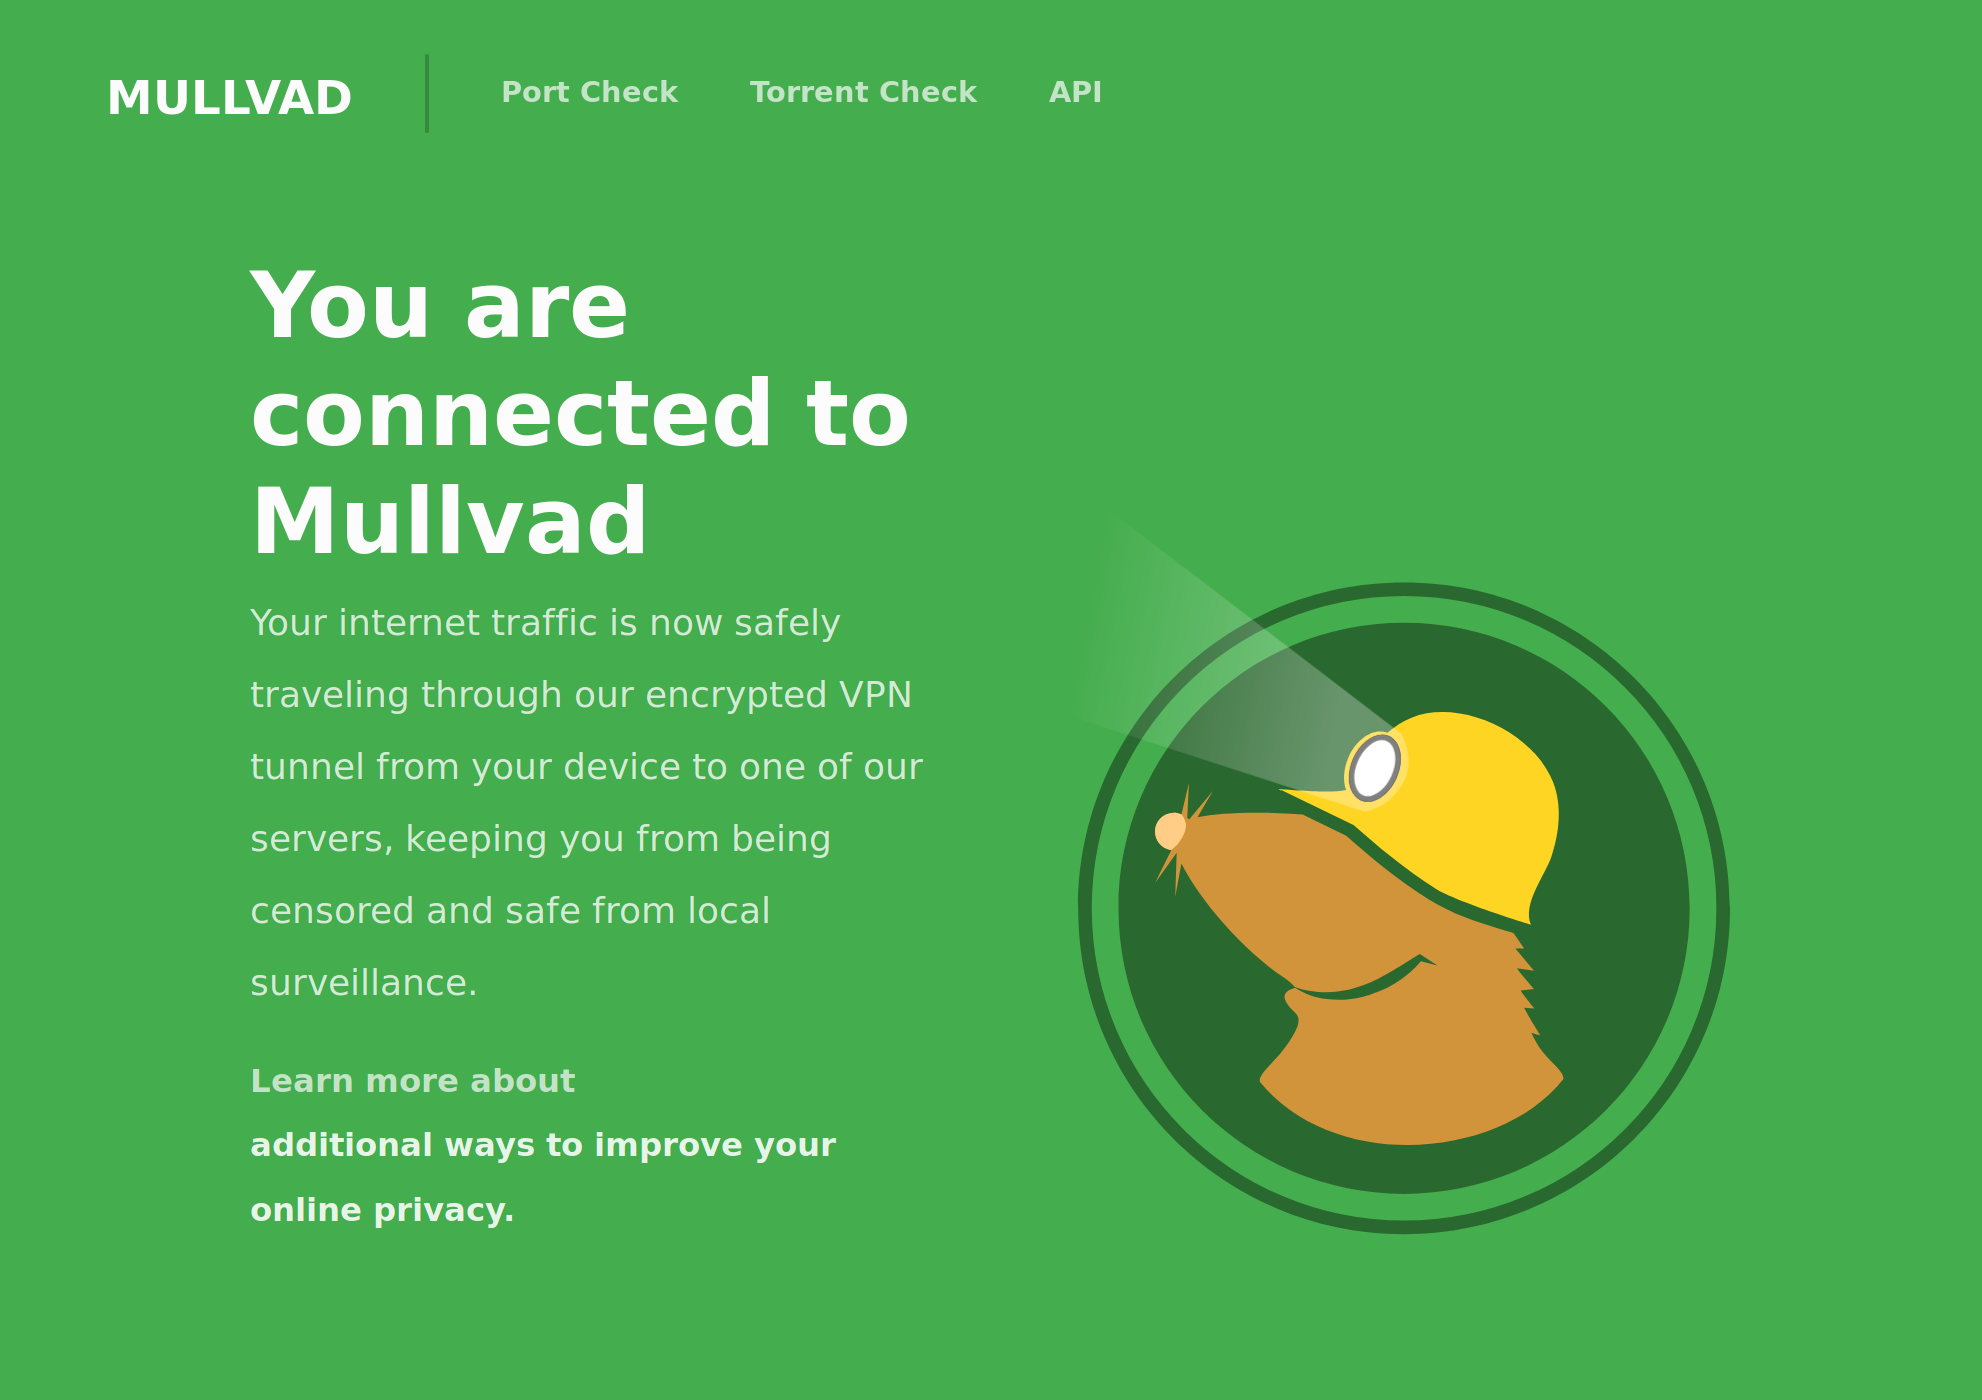
If you don’t see a success, go back and try to debug or figure out if you did something wrong. Don’t worry as you’ve got some time. Once your three free hours of Mullvad service are up you can return to solve another math problem, generate a new account number and repeat the connection setup.
Starting and Stopping
Unless configured as a system service and automatically run on start-up you’ll need to manually start your WireGuard connection each time you wish to connect. The following video shows you how to start and stop WireGuard from Terminal:
Once started confirm the WireGuard interface is working by using tcpdump (requires install). Run as a privileged user and wait a moment for it to log connection details. You should see only UDP connections output if it’s working.
Personal Experience
Based on three weeks using Mullvad my WireGuard experience has been good. I purchased my account in Bitcoin Cash using the Bitcoin.com wallet downloaded from the Aurora Store and registration with Mullvad was near instant. From Terminal I can see Wireguard handshakes and transfer using the wg show command. I’ve also gone back and generated a QR code to use the WireGuard app on my EMUI/Android device since Mullvad allows up to 5 keys to be generated at one time.
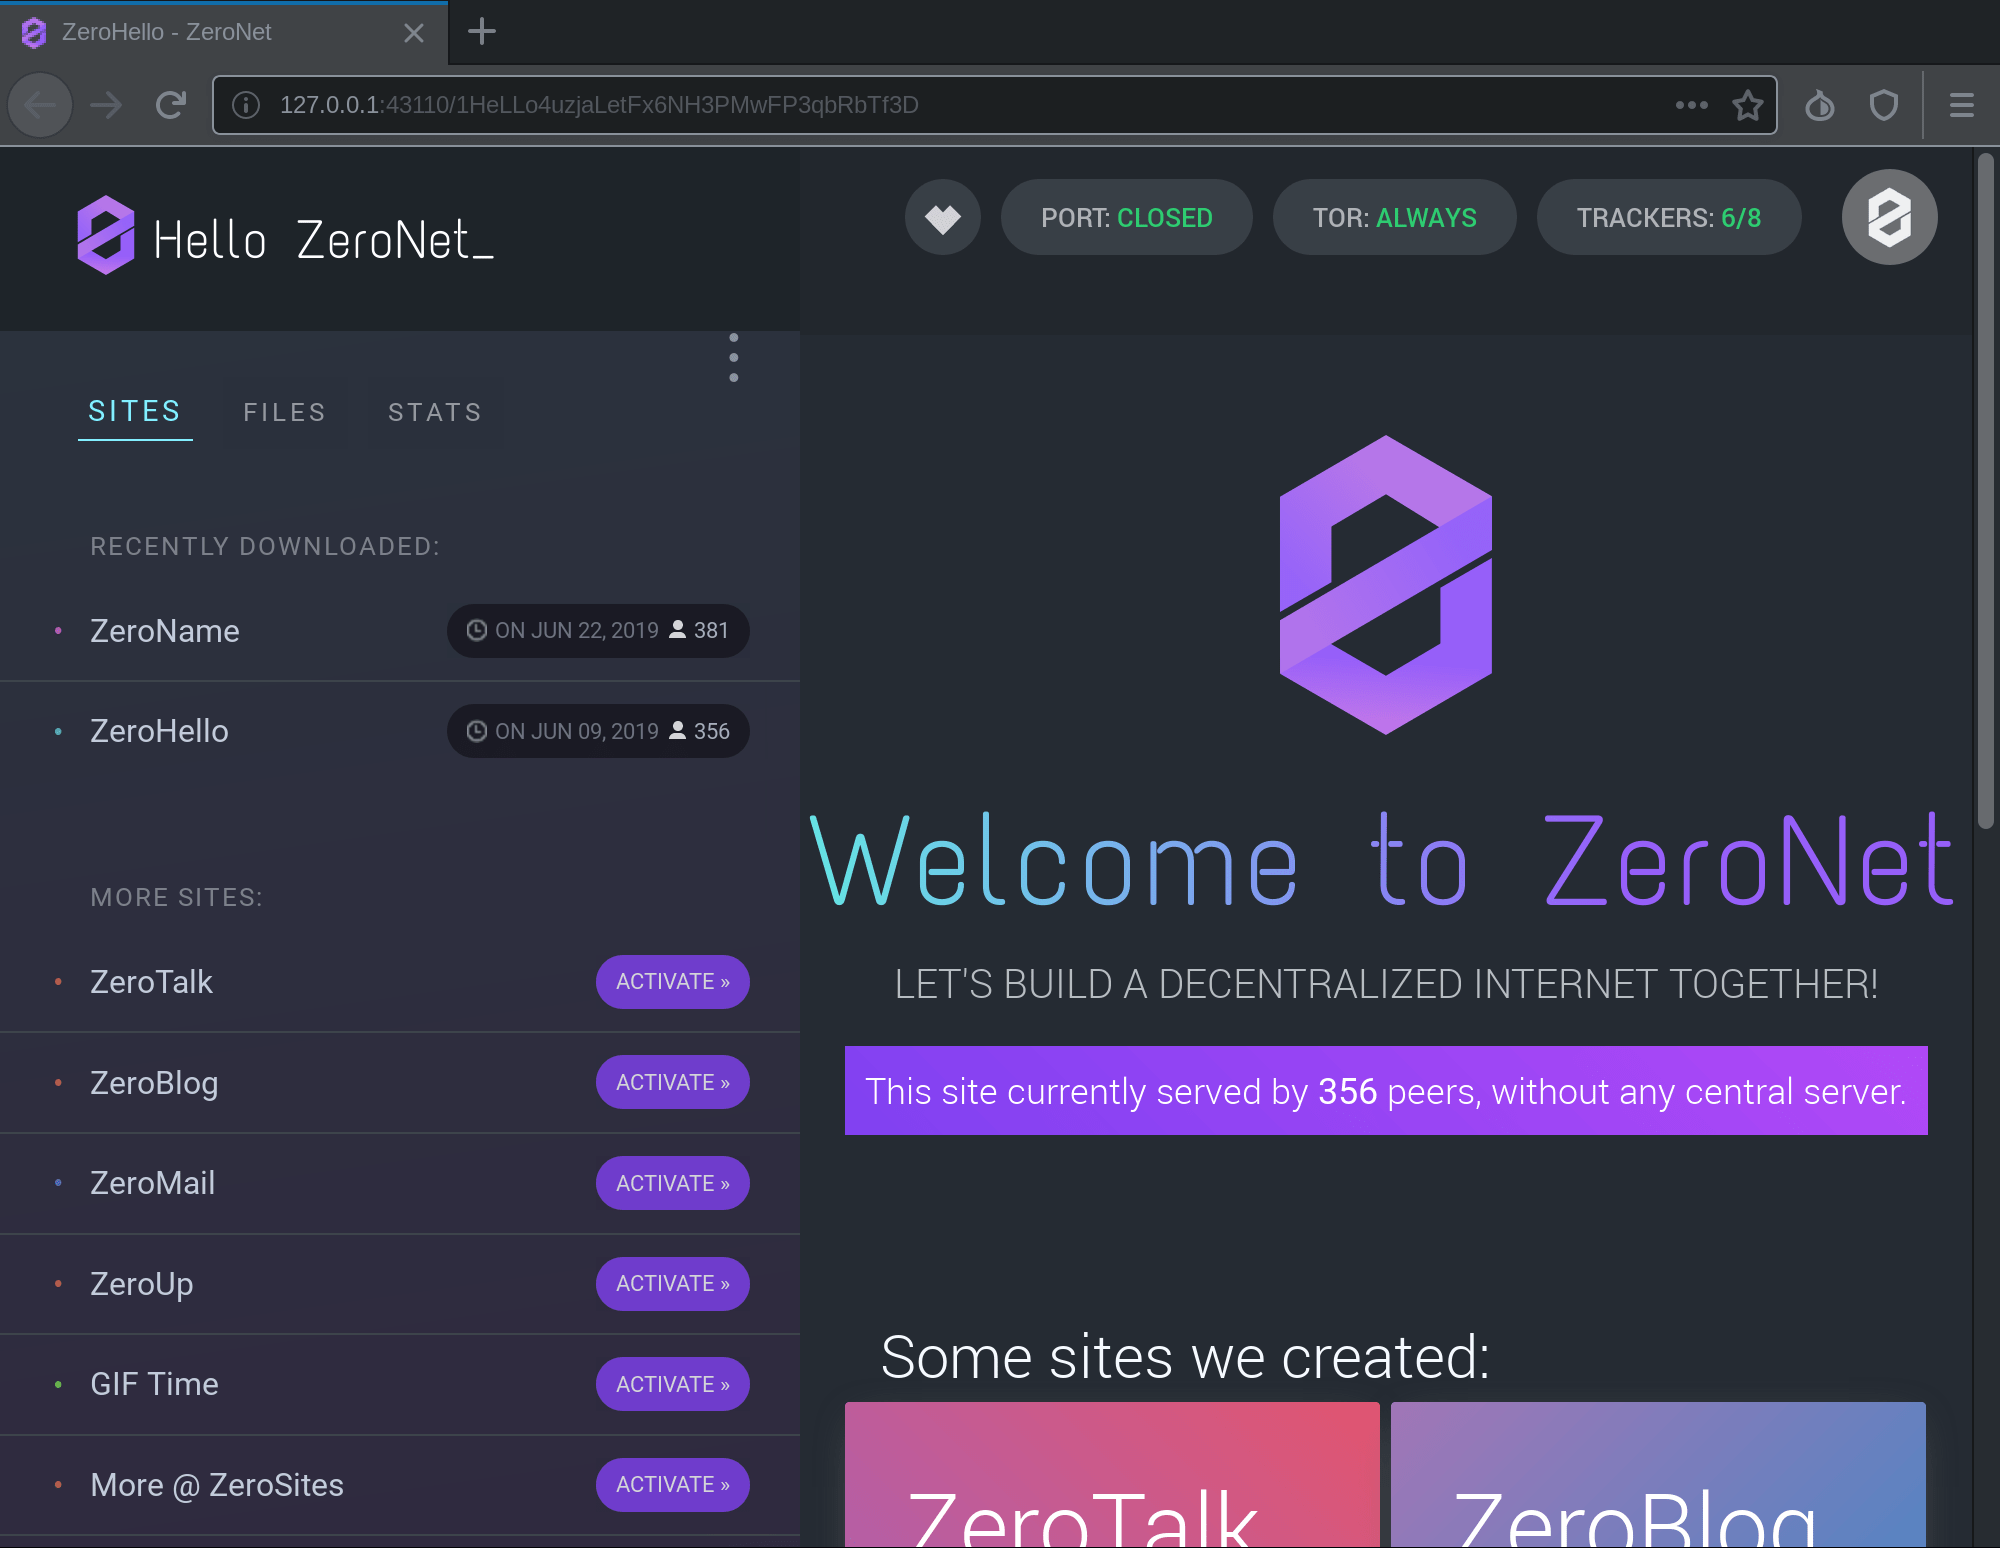
From a speed perspective Wireguard is the fastest encryption protocol I’ve ever used, period. In fact, it’s so fast I’ve been using it in combination with Tor to surf the ZeroNet. On the surface Web I have encountered a site here and there I couldn’t access. But that’s okay by me as they are few and far between.
Based on some info I saw in the
Manjaro forums it’s possible to start WireGuard automatically with the system as it starts using systemctl but I haven’t had a lot of luck with it yet. It’s easy enough, however, to simply Ctrl+R from Terminal after a system restart and type wg-q followed by Ctrl+R again to traverse bash history for WireGuard commands used previously.
Finally, when using with Tor, I’ve noticed Mullvad cannot determine WireGuard is in use, which makes sense given it’s an anonymizing overlay. In these cases I use sudo wg show to check if Wireguard is running and sometimes use tcpdump to confirm all data is being transported over UDP.
Next Steps
Now that you’ve seen how easy it is to encrypt your Internet connection with WireGuard and Manjaro try using what you’ve learned here to connect securely to ZeroNet using Tor Browser so you can start Surfing the Uncensorable Web:
Additional Resources
Now that you’ve seen how easy it is to get encrypted Internet with WireGuard and Manjaro take time to use it to explore the Mullvad docs, including their guides on Privacy and using BitTorrent. As a privacy company they’re going to have some good stuff. When you’re finished, enhance your understanding with:
- Electronic Frontier Foundation to break out of your filter bubble
- Official WireGuard Whitepaper to understand WireGuard mechanics
- WireGuard on ArchWiki for all sorts of useful information
- VPNs! An OPSEC Primer to learn how to set-up your own VPN gateway servers
- WireGuard in NetworkManager and Guarding the Wire for use with NM
- How to Create a VPN Tunnel with WireGuard for an alternative guide
There’s a ton to grok so take your time learning and enjoy taking it all in. And once you’ve absorbed all that check out some of the related content below.
Summary
In this short guide I showed you how to encrypt and route your local Internet traffic through a fast, modern, and secure VPN tunnel called WireGuard using a free and open source operating system called Manjaro Linux. I explained how to install WireGuard on Manjaro, shared a simple means of establishing and testing an encrypted Internet connection, and left you with next steps and personal experience to help further your understanding and gain confidence getting started.
Remember, the Internet is still young and this is a delicate time. And no thanks to the reptilian instincts of corporate greed your very free will as you know it may be in jeopardy. So secure yourself online and start digging your tunnel.
Please use this opportunity to safeguard your personal data with WireGuard.
-
In the words of Edward Snowden in regards to collection of metadata. ↩︎